Prototypes


Cardboard-glider
Team Member:Jai Jobanputra
This is a detailed documentation on how to make a hand-glider with cardboard as the chief material. Do read this thoroughly as I will be providing some tips here and there, too, and will be of use in the event. out there, stunningly gorgeous to look at, and of course, bringing with it a certain ‘Out-of-this-World’ aura!
Let’s start with the materials required :
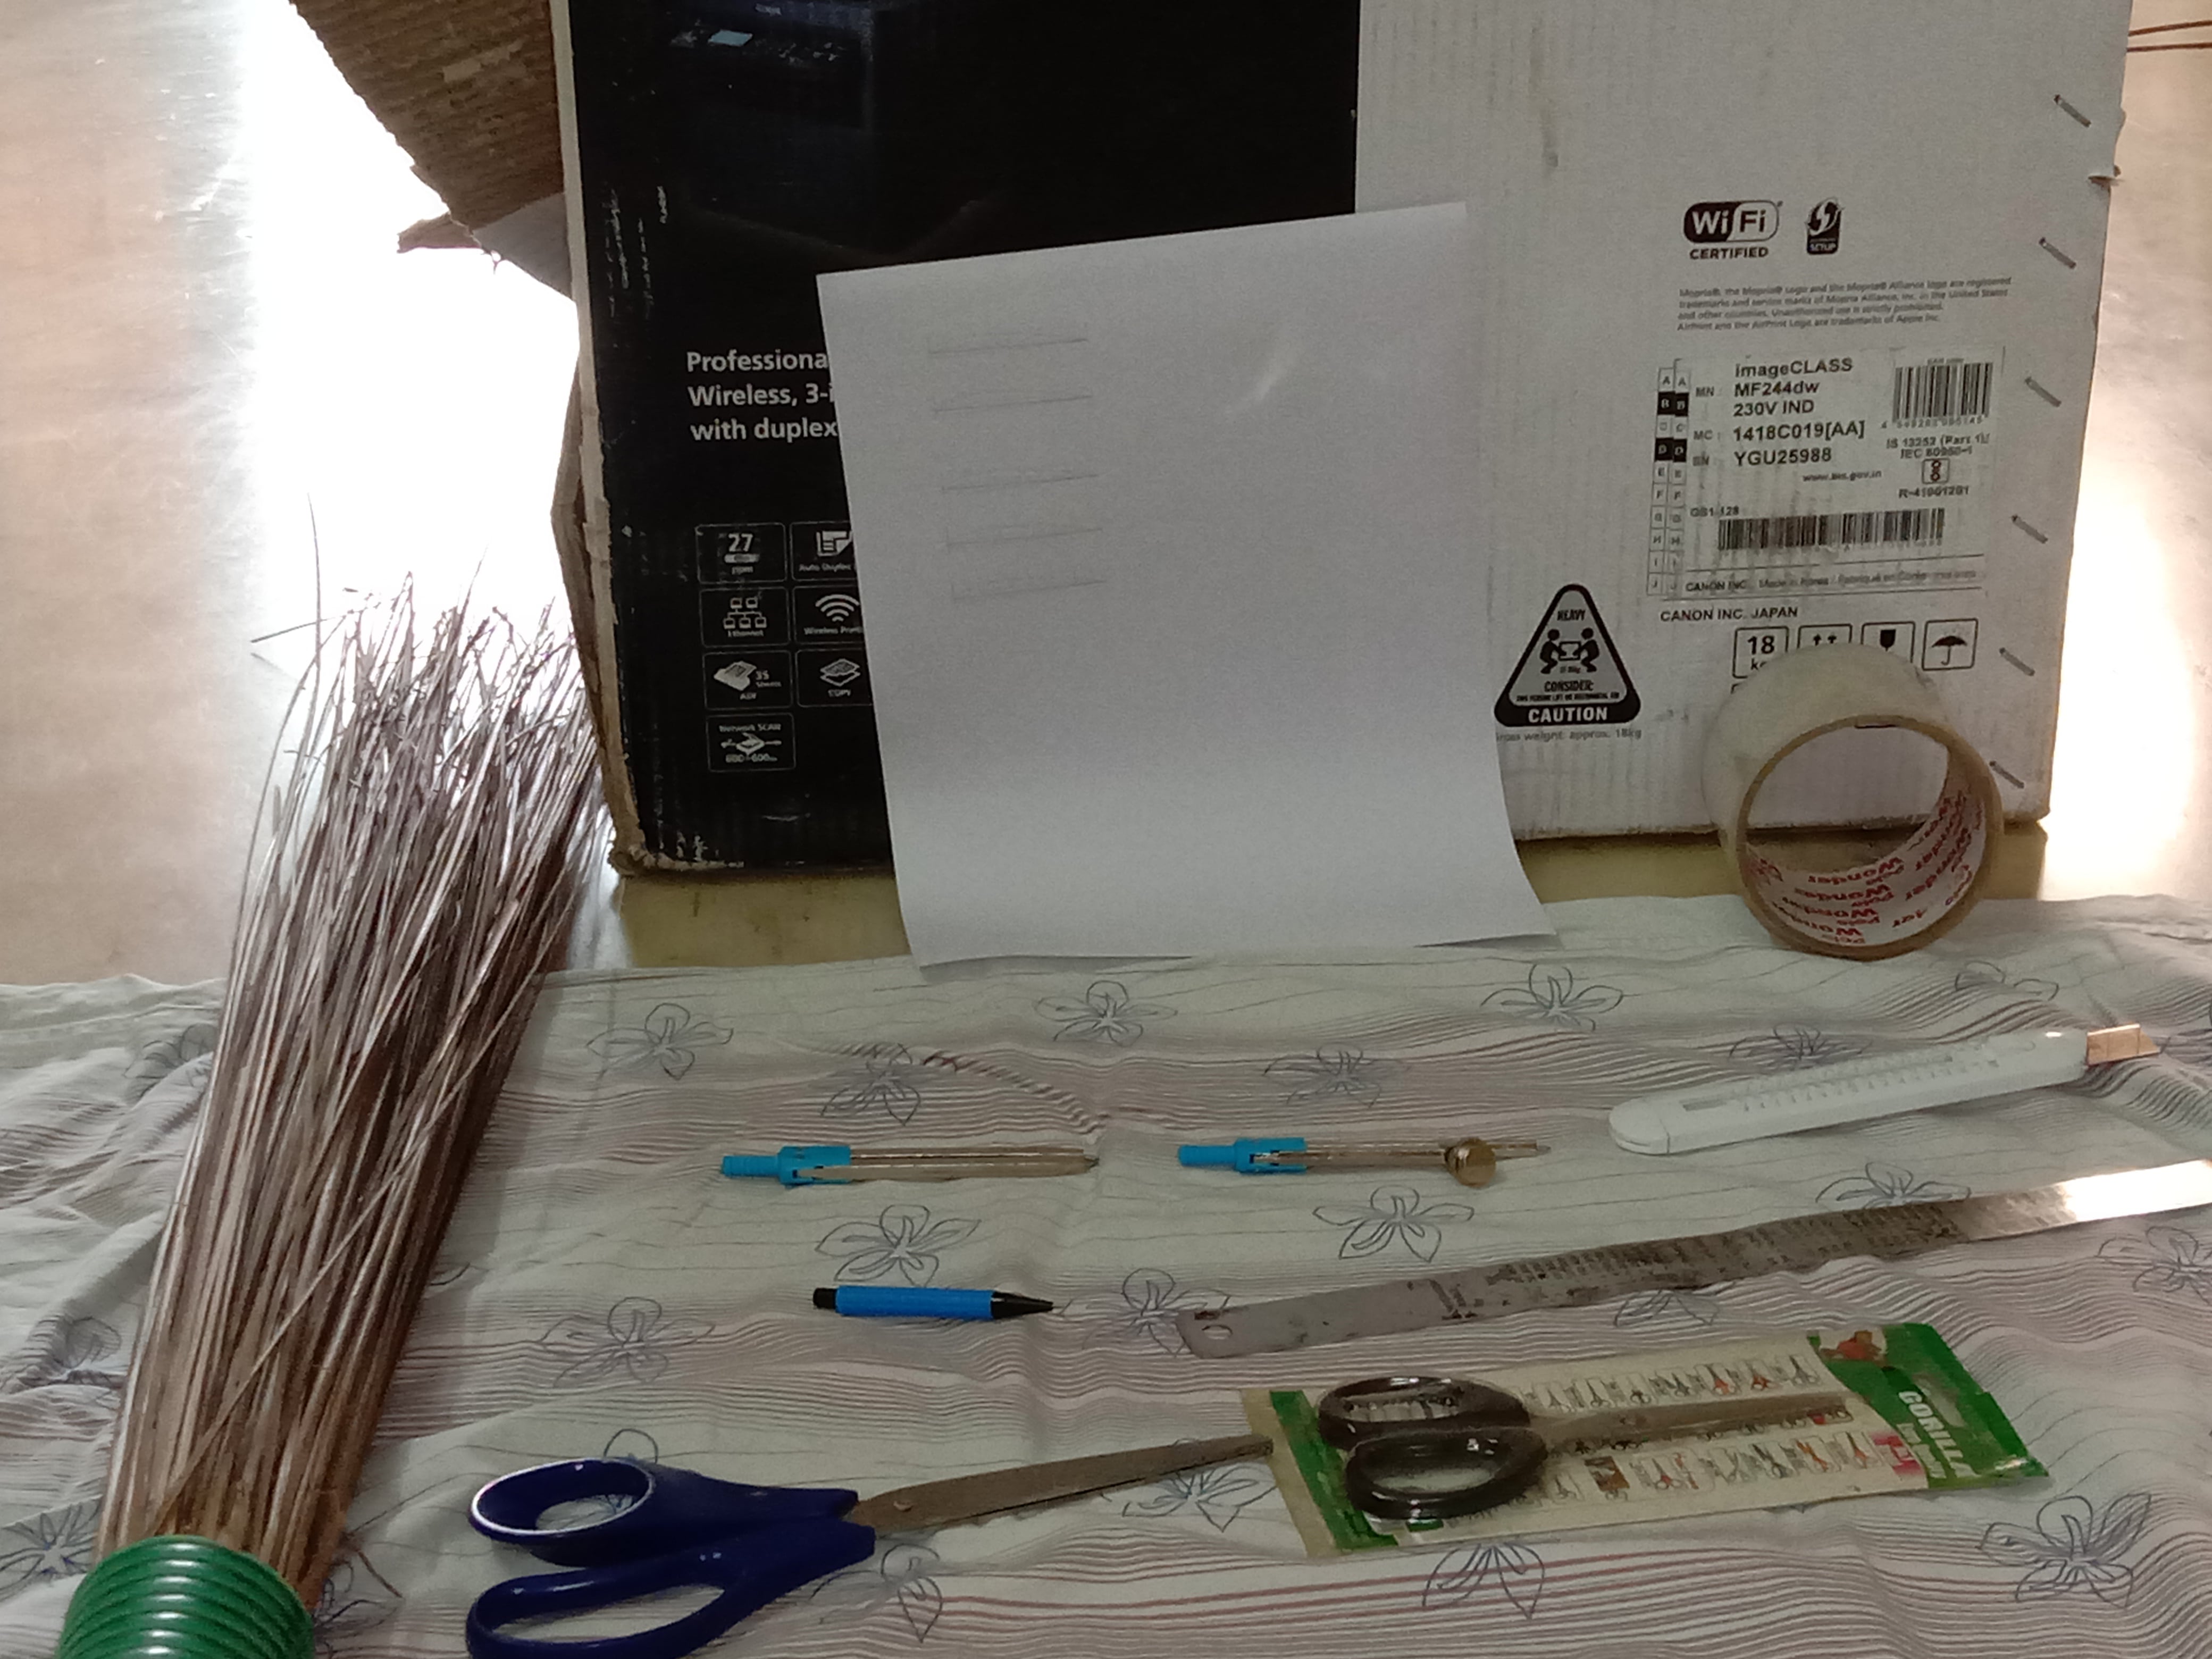
This may contain some extra materials and some may not be in the picture but please bear with me as DSLR wasn’t in the club budget :).
- Cardboard(obviously), by this I mean any cardboard with multiple layers/single-layer/cartons and in worst cases, book covers will do.
- Adhesive, again any will do but fevistick or feviquick kind of stuff will be preferred. Also, cellotape/brown tape is a must.
- Scissors
- scale
- rubberband(not absolutely necessary but very helpful)
- Broom, now I used a relatively newer one, one must note it loses its elasticity as it becomes more and more used, so try to make sure the bristles have a bit of elasticity. (the one used for cleaning bathrooms as it has thick bristles)
- Paper, also a printer would be nice to have access to the printer as it does help to have exact airfoil shape but if not just a pencil/pen and paper with some geometric apparatus will do.
- A rounder/pin/any piercing instrument.
So let's start with step 0: before doing anything we need to have the measurements with us. There are a lot of ways to approach the glider problem I approached with weight estimation, As I had the materials with me, II took appx how much materials would be required and measured it, it didn't register on my weighing scale so it’s below 100g, and if I took double it’s just above 100g so it's safe to assume 100g would be the upper bound after everything (if you have a better scale you might want to measure the weight of appx 500cm2 of cardboard, 4sticks of broom and some rubber bands that would be a good appx. To start with.) (Note typically we don't proceed that way we proceed with the mission requirements but because this is a rather new build we don't have the much needed historical data for that) So with the approximate weight in mind and the fact that we know the wing loading for a glider is 35g/dmsq(appx) (If you are interested in how it came there’s a lift formula and it works on the minimum speed of the plane look into it if interested.), so with this, we get the area being 285(appx). Now after this one should go with the aspect ratio selection (typically 9-10)and then select the right configuration for the glider, but I had a length constraint of 45cm and hence had to go for 45*6 cmsq (again it asks for 6.3 but some approximation is ok) With this all done, I have the wing dimensions, the tail dimensions follow from the fact that the tail area is 16-32% of the total area and the aspect ratio I had chosen was 2 and % as 40% at the start at least then had to trim it down to permanent the extreme roll moments it caused. (more on it later), so the dimensions became 15cm and 7.5cm(after trimming it reduces).
(typically we choose a much larger aspect ratio,but during tuning, I noticed a lot of rolls was generated because of my adhesive not giving enough hold to keep the stabilizer steady and hence the decision and anyway the AR didn't matter much as I had to cut the wing in a shape that would reduce unwanted roll ). (A lot more goes into it which might have been covered in the sessions but for now some approximations will serve our purpose)
And finally the vertical stabilizer follows the same idea with area 8-16% of wing(I chose 10) and chord length (at root) = 7cm, I used a triangle one here(roughly) so the height became 8cm (appx) (one last thing fuselage is 80% of span)
Step 1: Let’s start with wing, to do anything to wing we need to first find an airfoil. Now again typically we see the mission requirements and choose what’s best. For your case either you are provided with one or you are choosing for yourself, if the latter try to go for symmetric ones as in the final glider you won’t have the control of angle of attack.
I made the mistake of choosing Clark Y which is pretty unsymmetric hence after completion the foil got inverted.(It does make a lot of difference )
So after choosing the airfoil take a cut out of it (here’s where a printer comes in handy, if not take an appx sketch but try to be as precise as possible.)
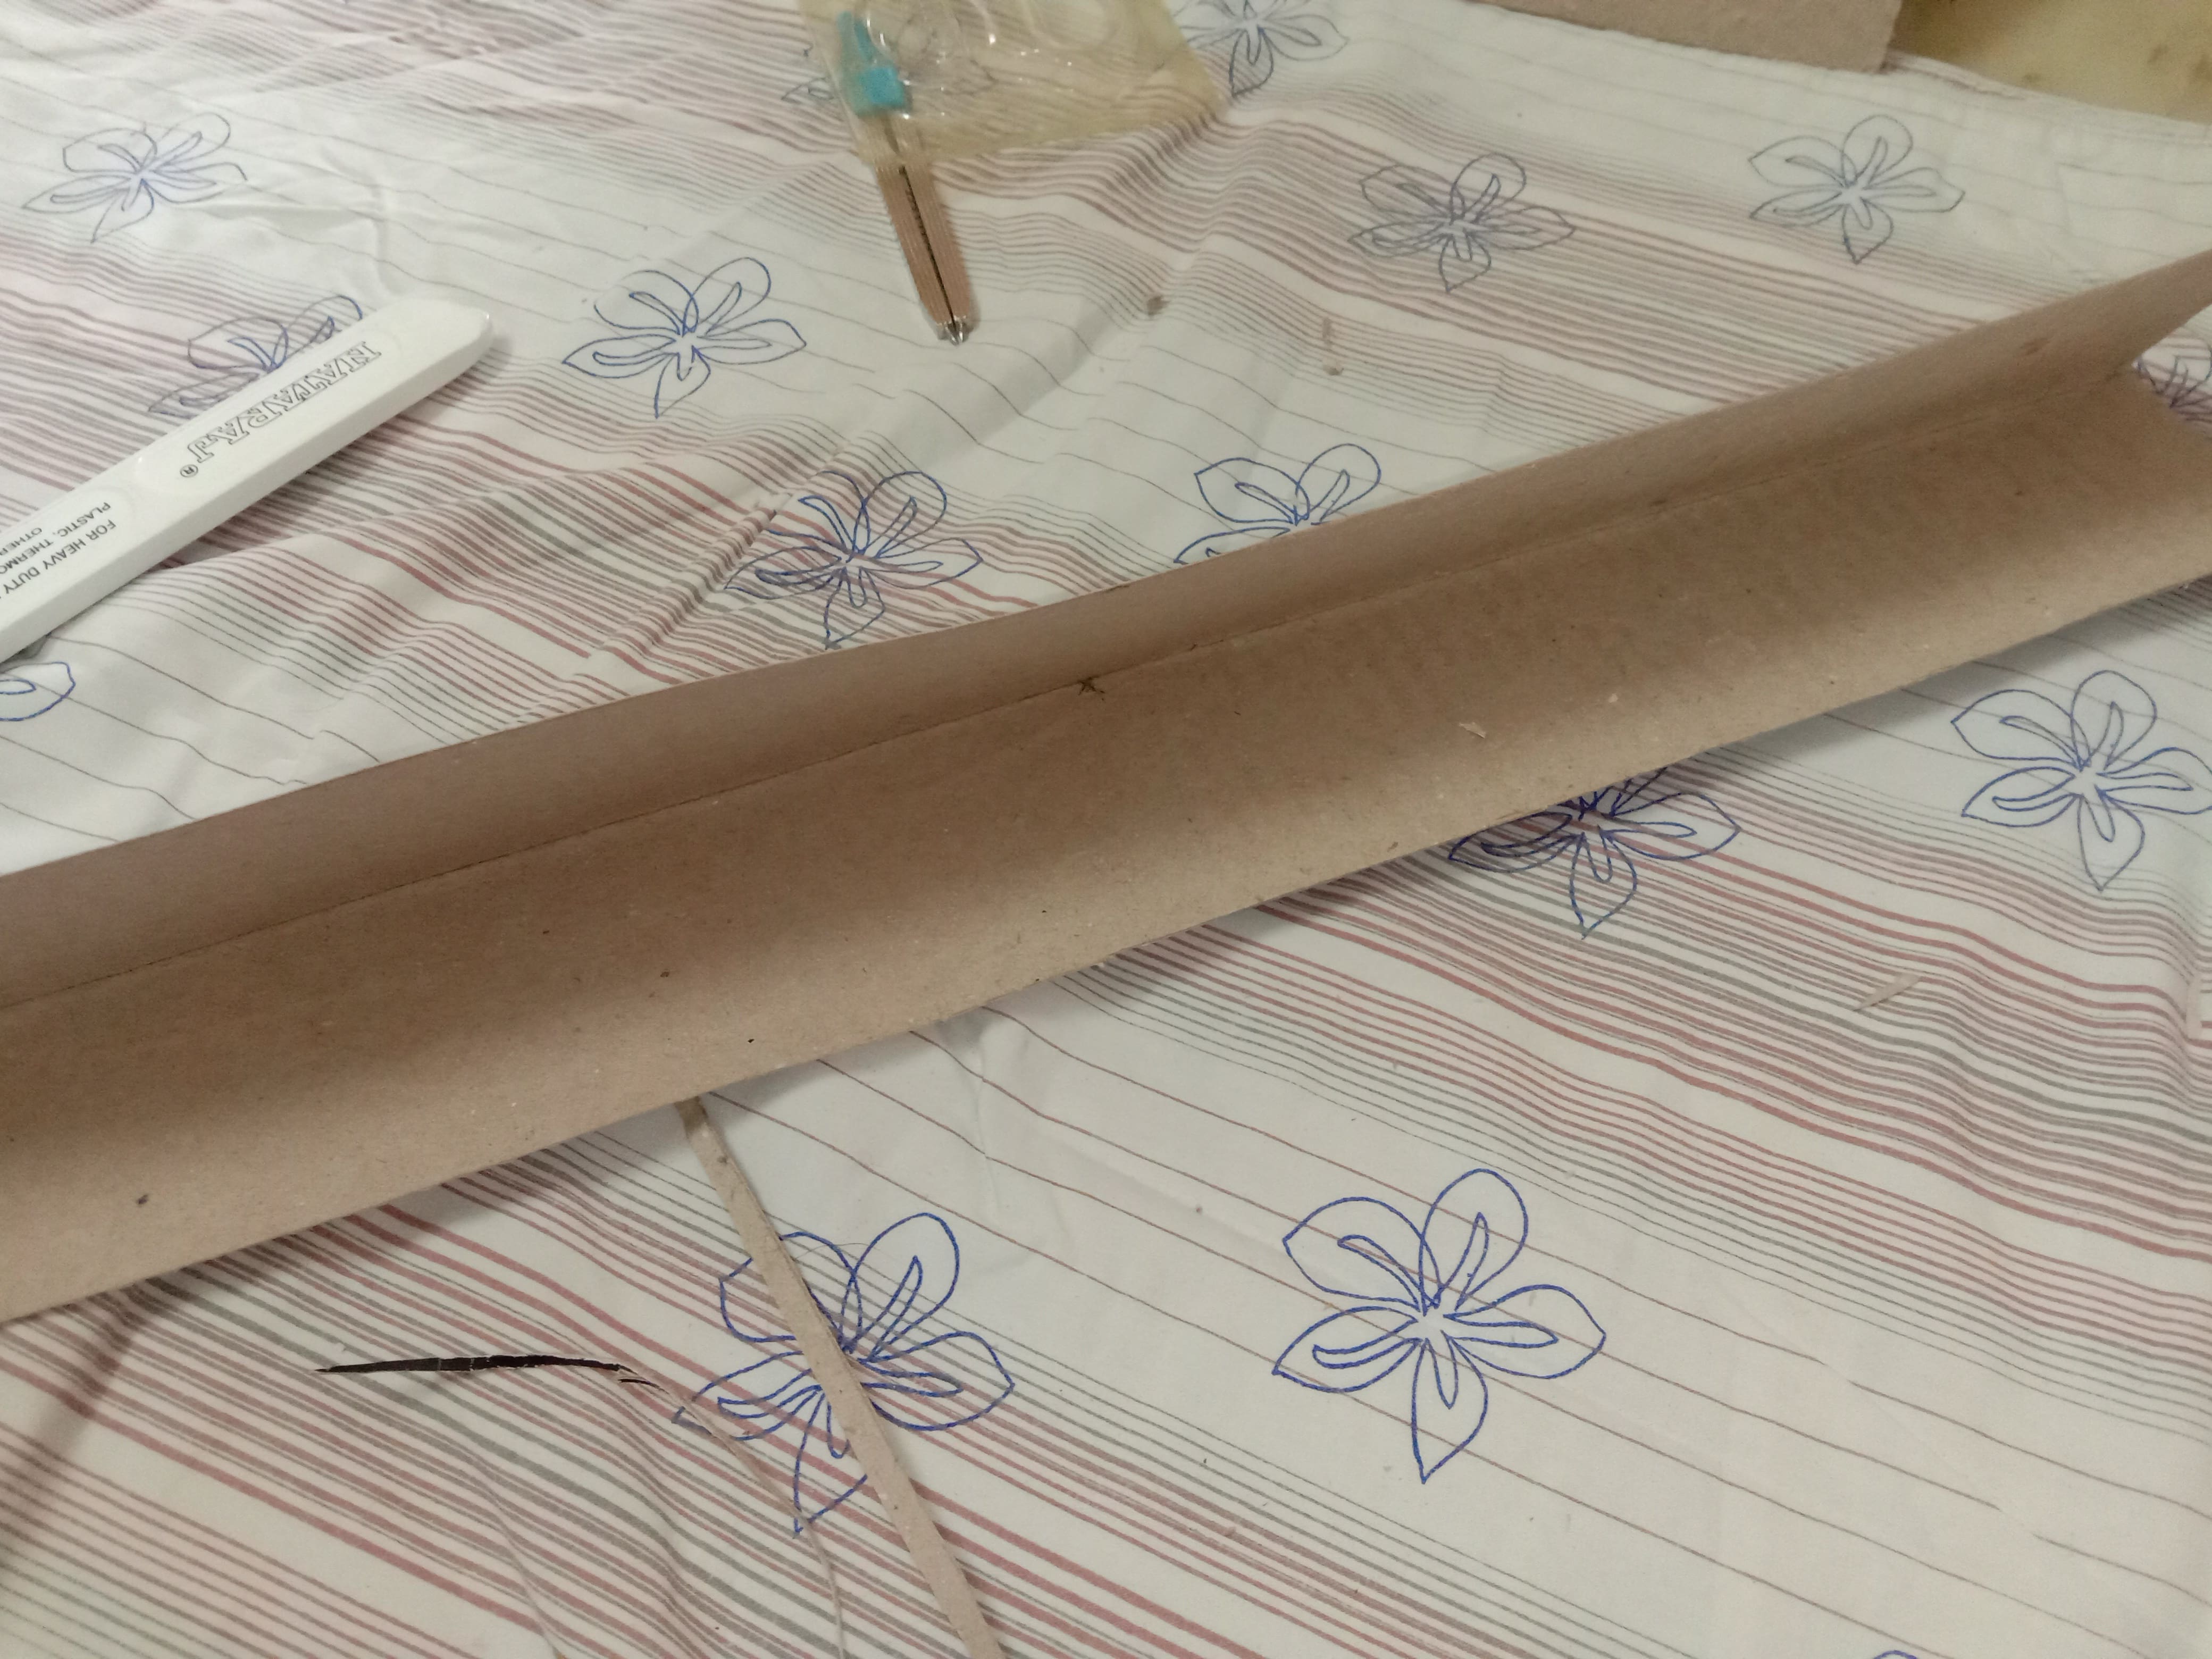
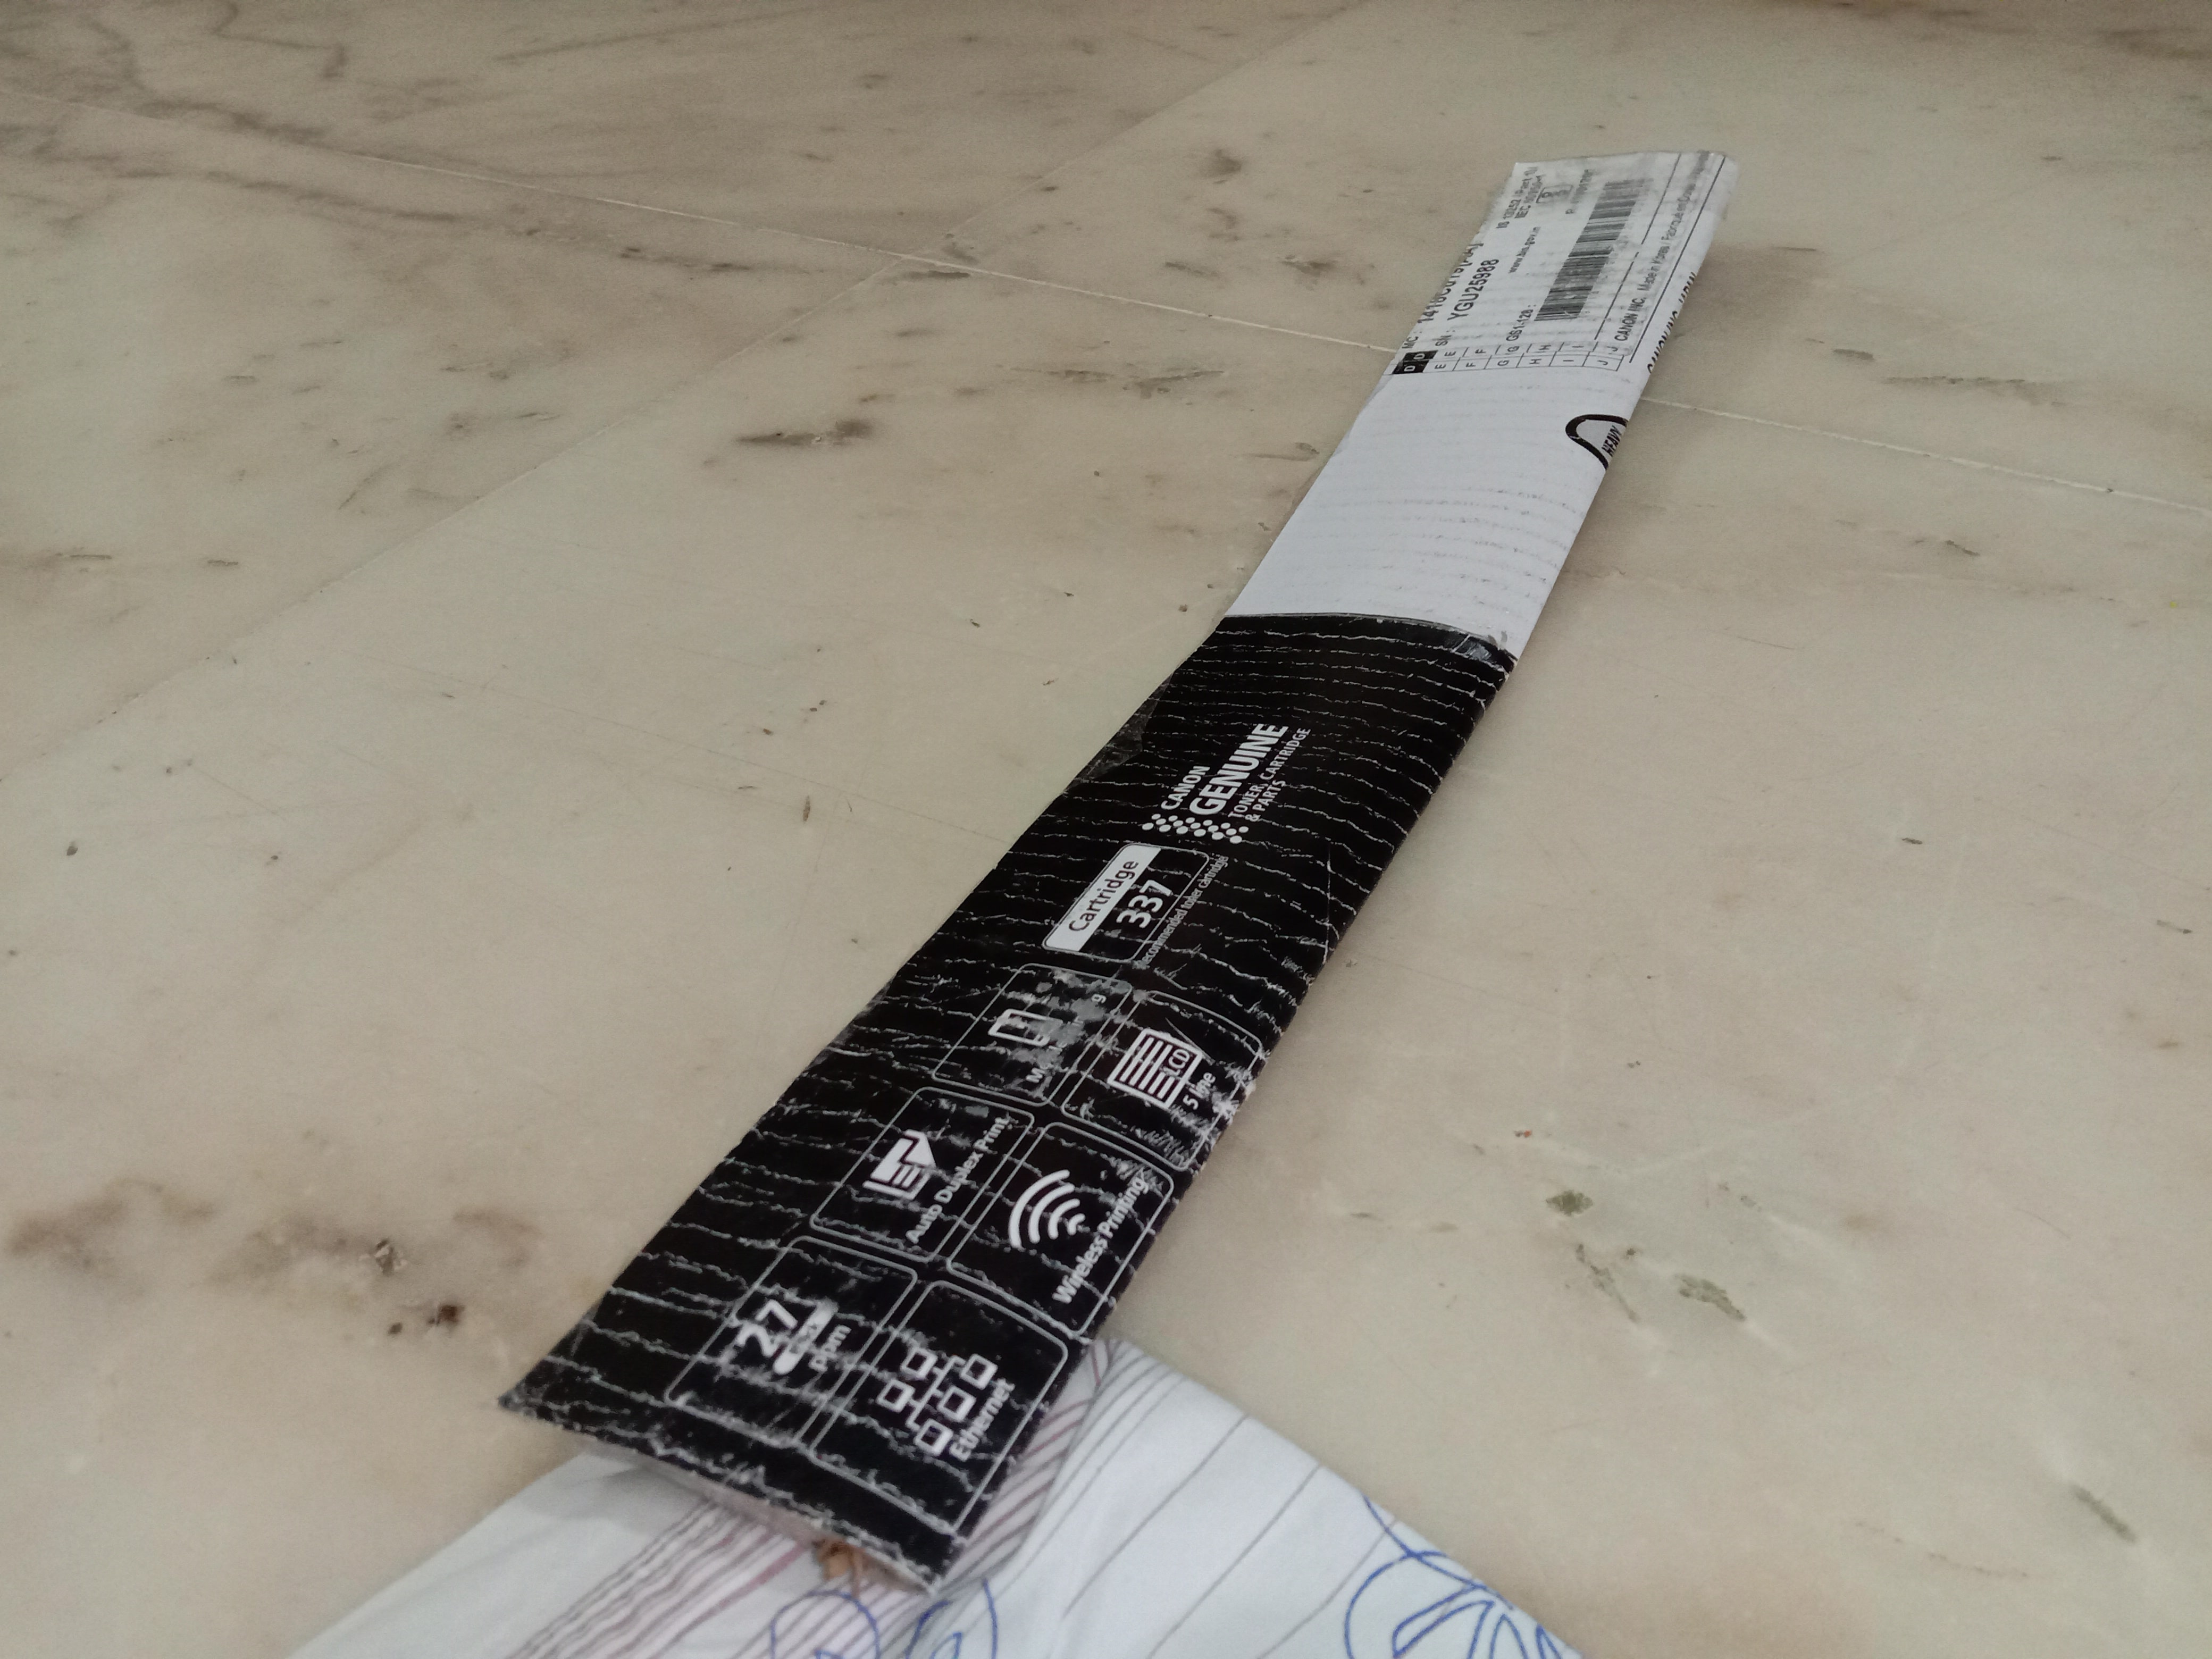
Now it’s time to gather some cardboard I might not be able to describe it well hence the photo:
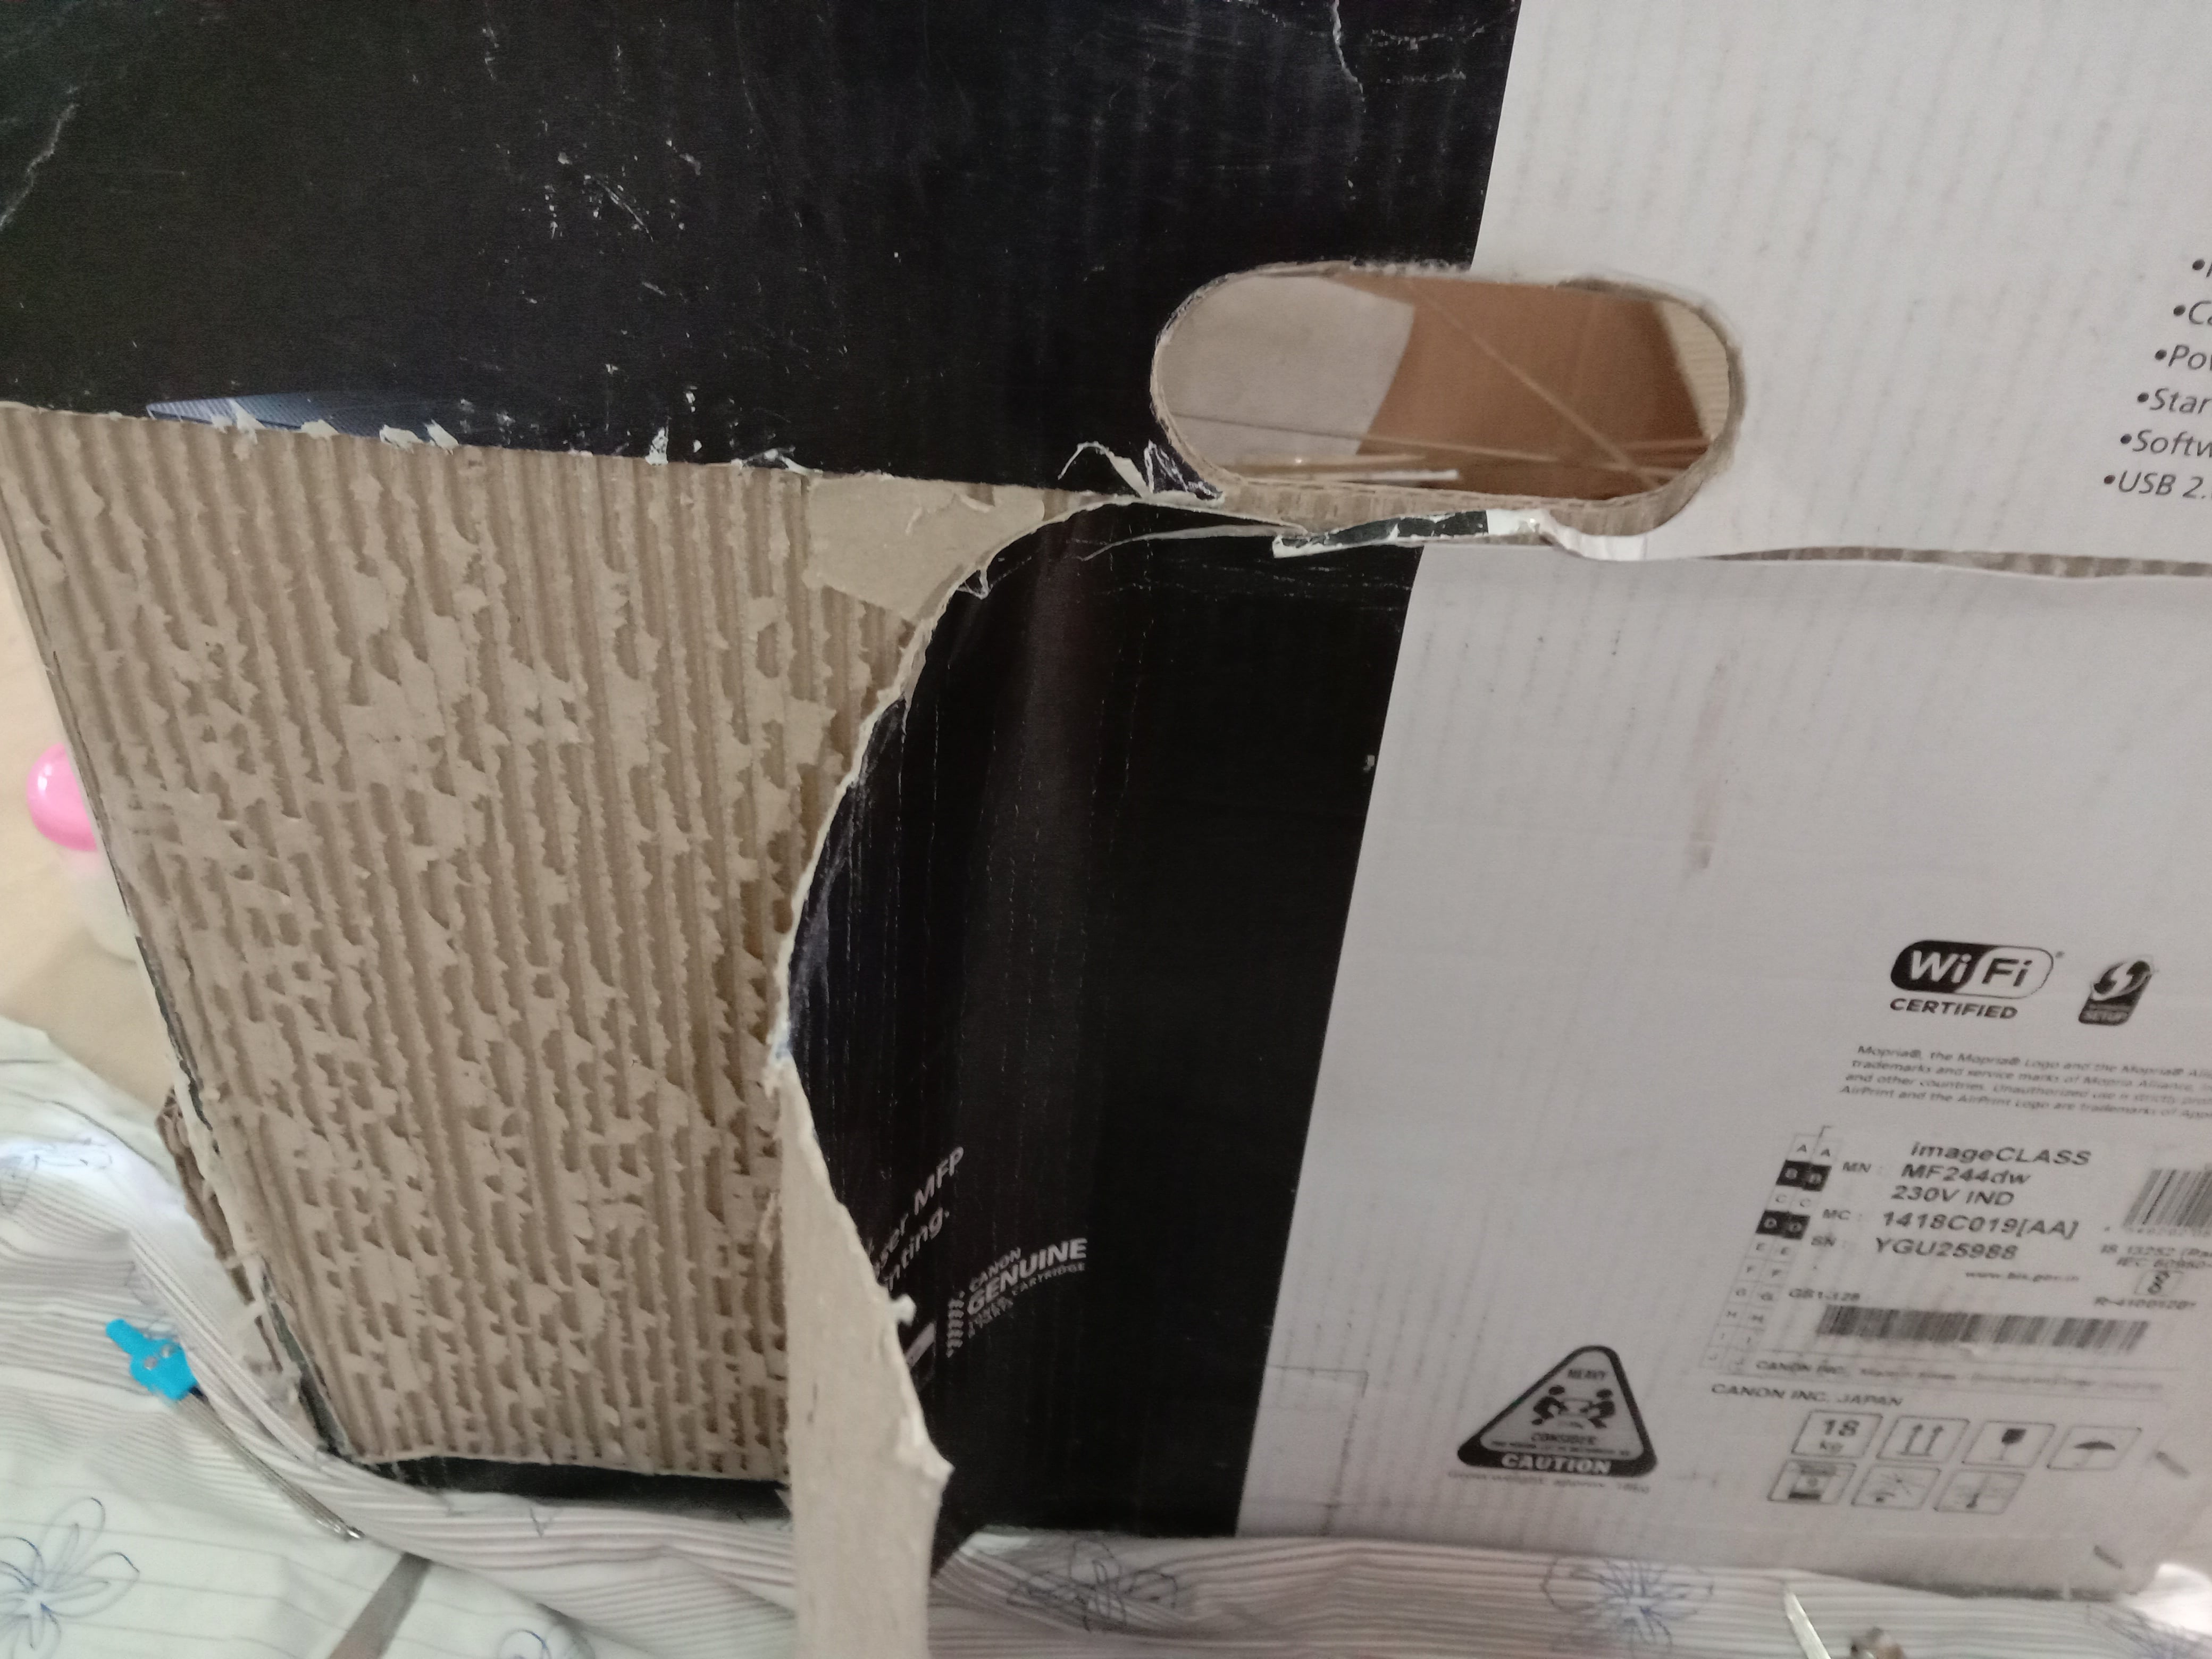
So we are not utilizing the entire cardboard jut the outer layer
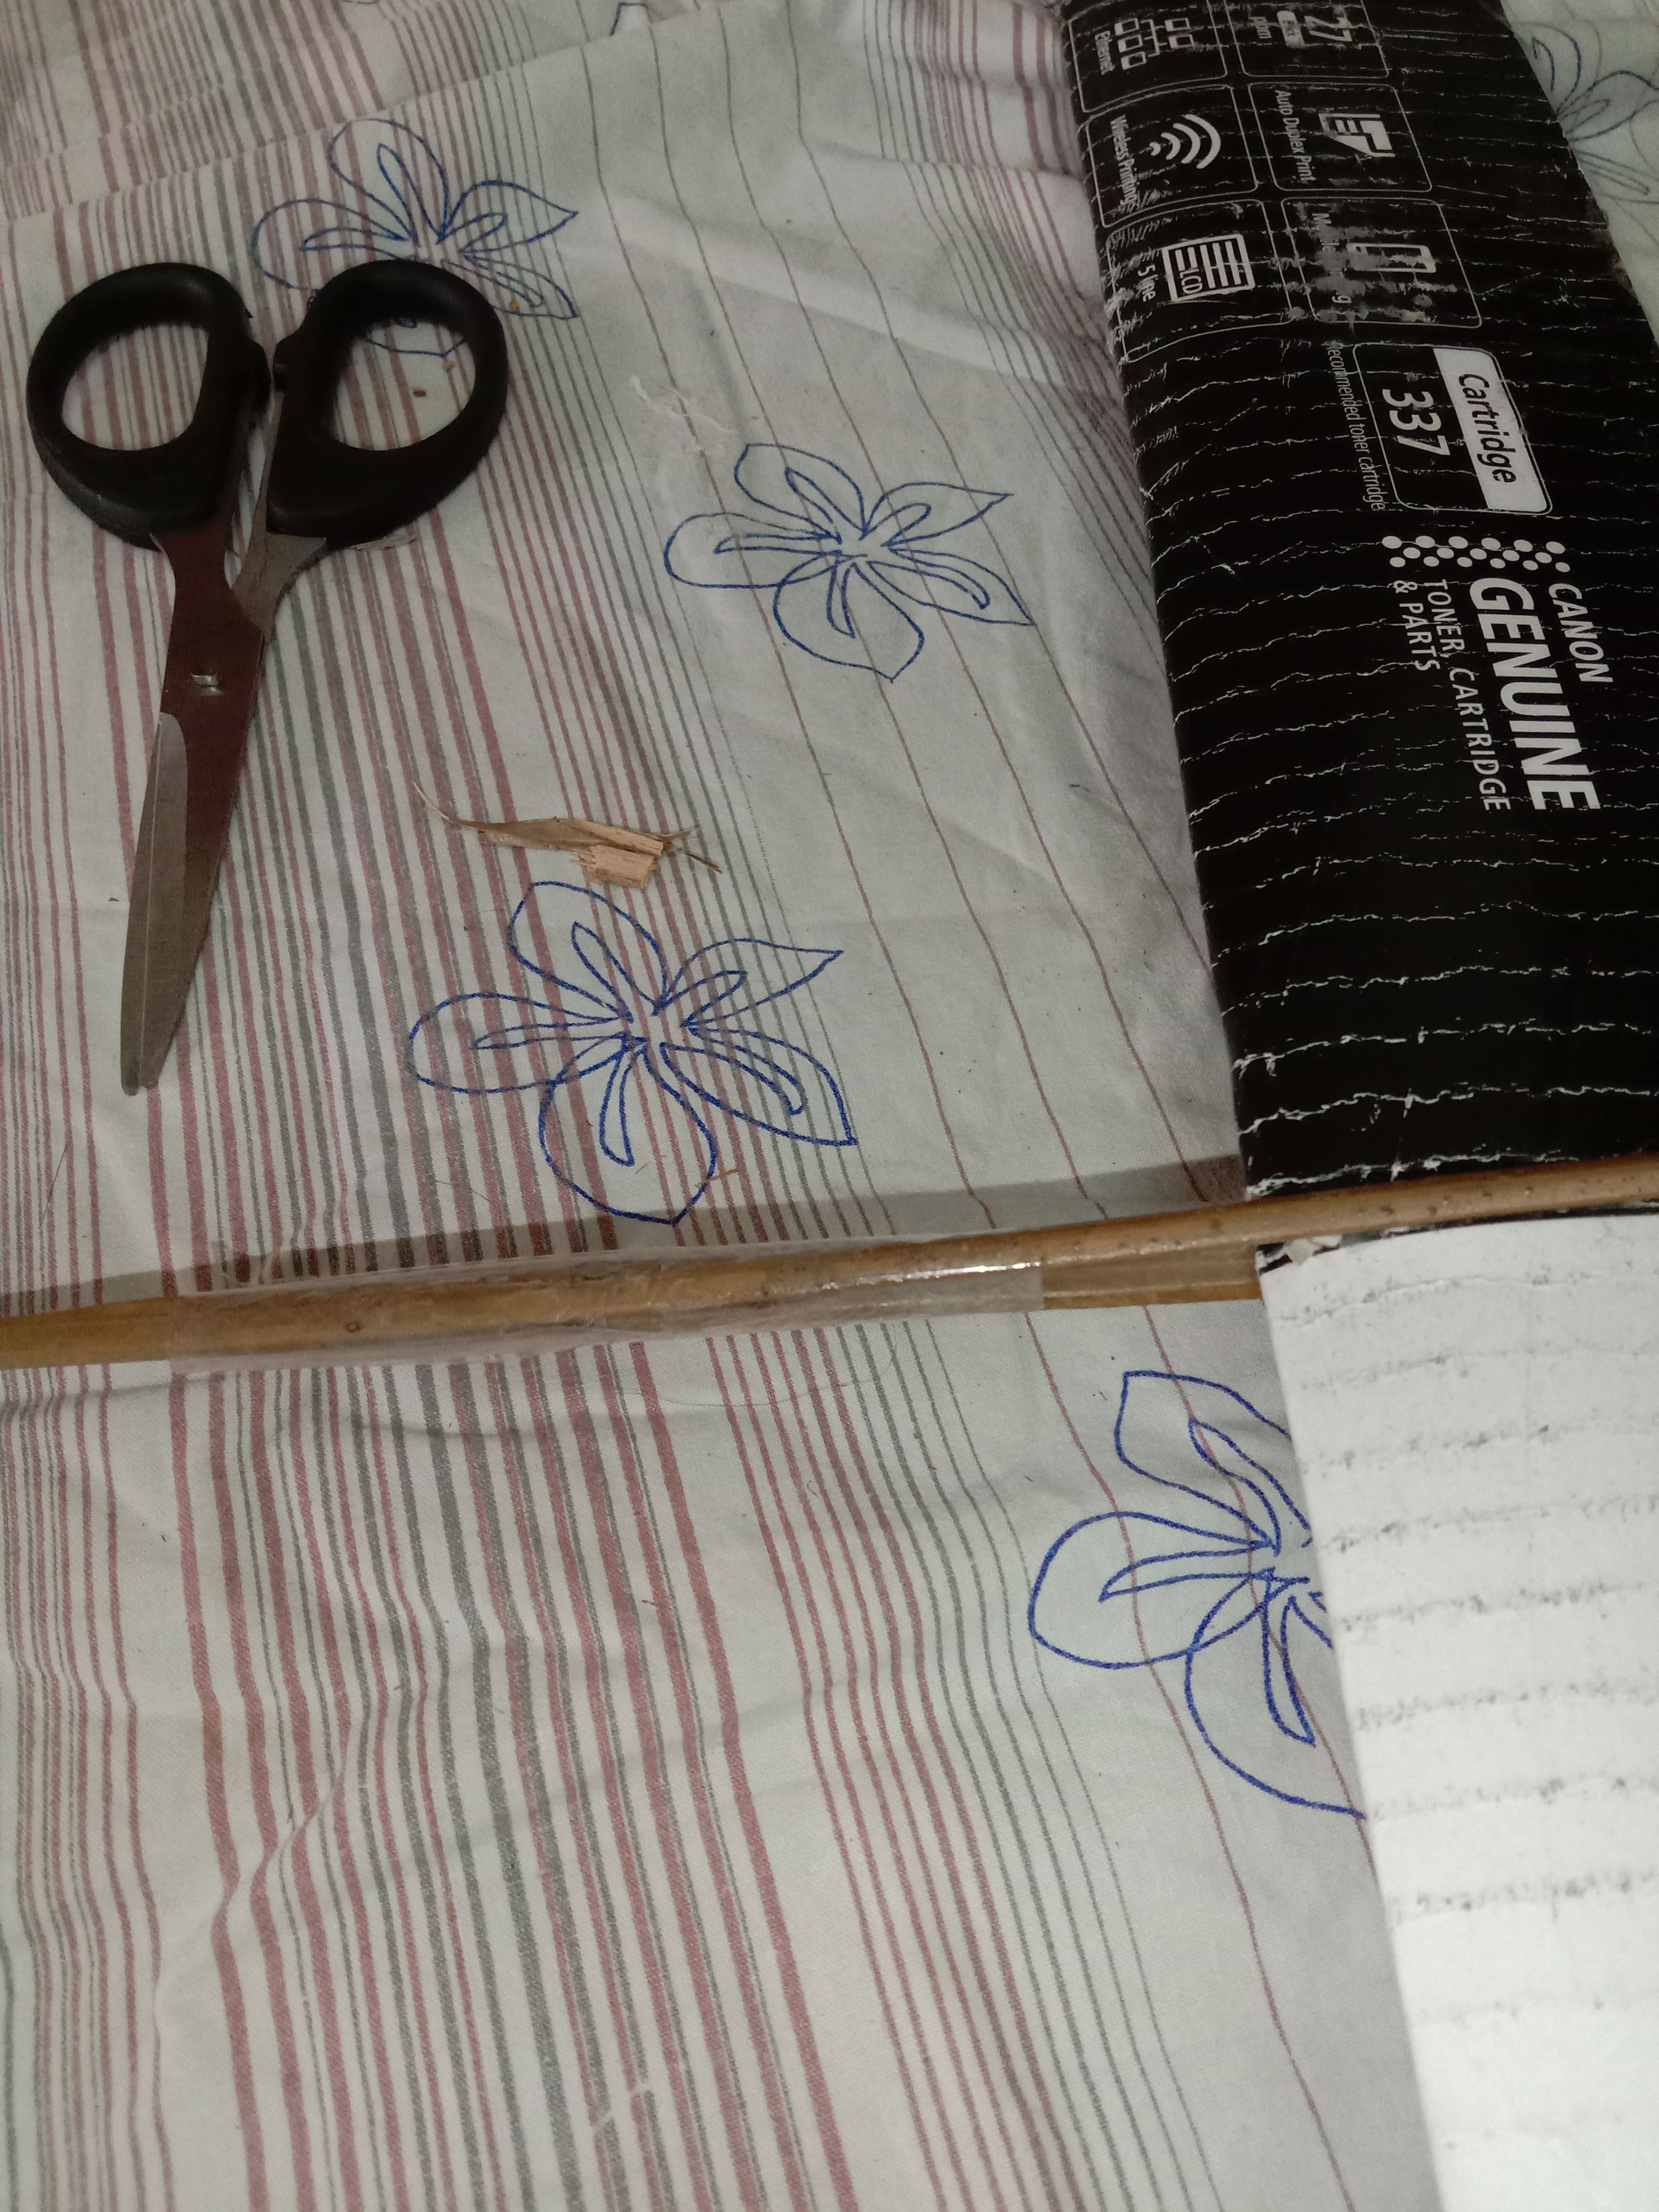
Now next thing we need to do is take cardboard cut-outs of the airfoil for ribs. Now for this, you need to decide how many such cardboard cut-outs for each rib are required and do take more cutouts for the center one. (I took 4 for the rest of the ribs and 8 for the center ones:
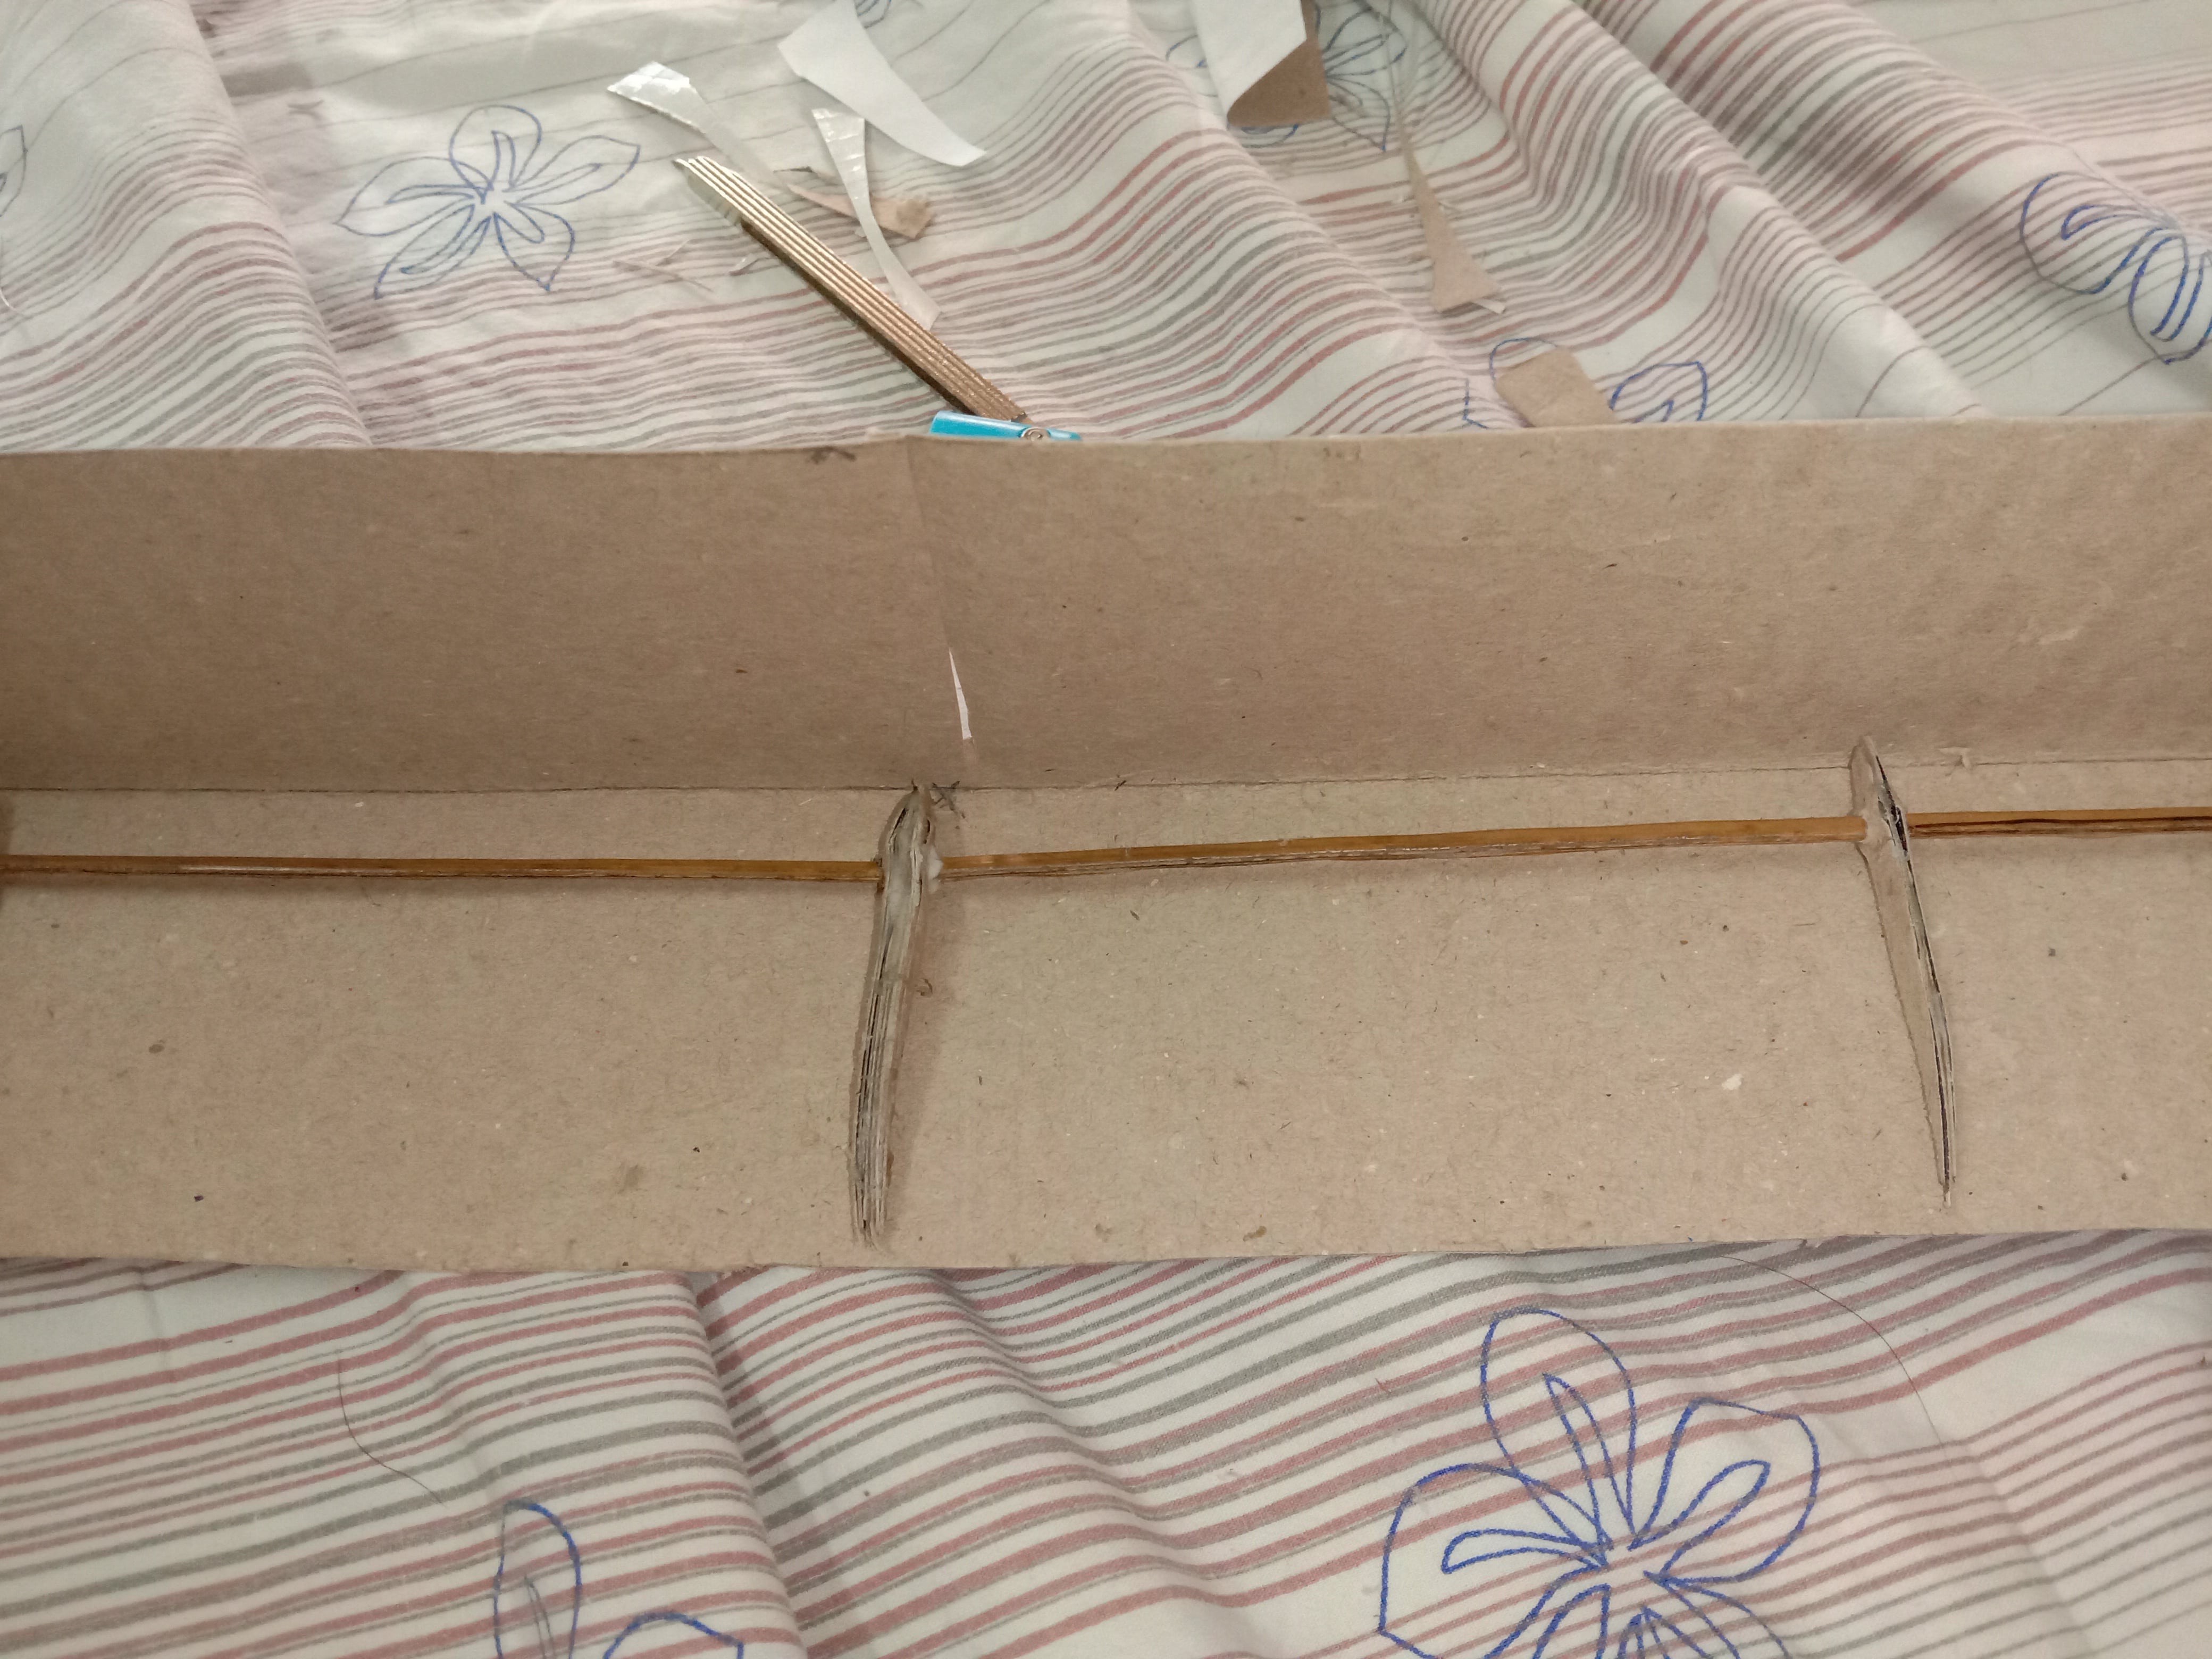
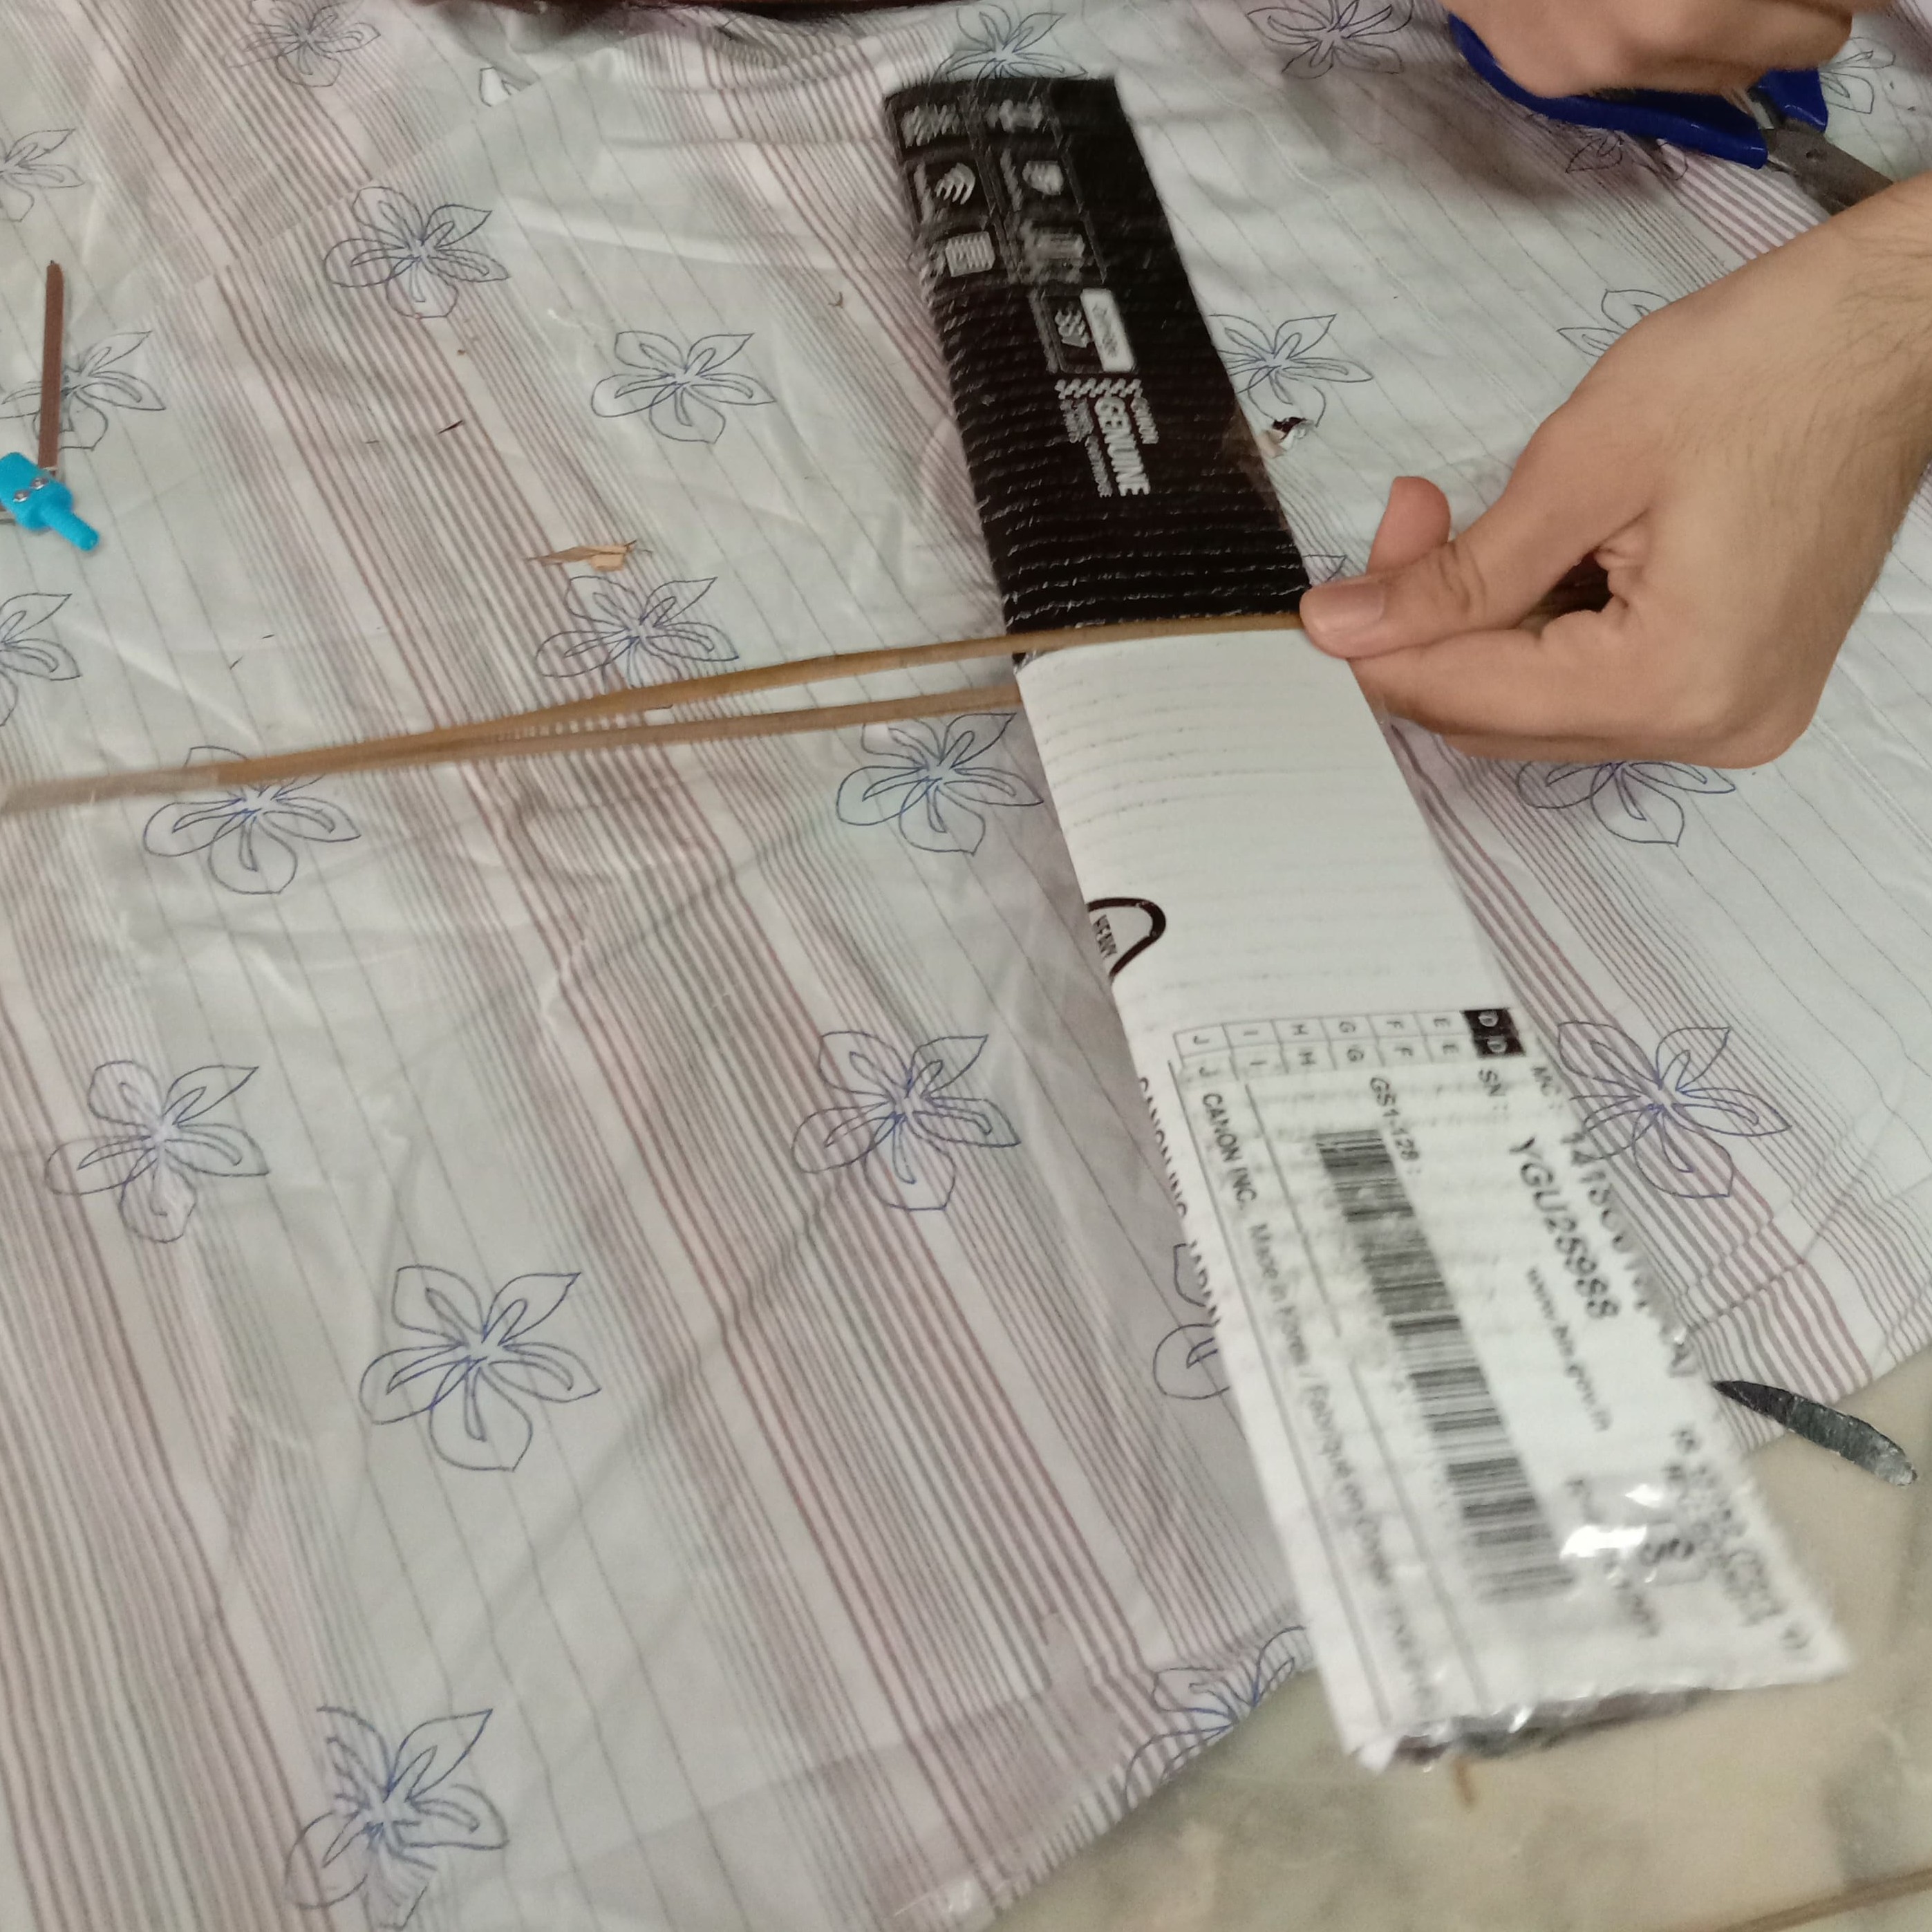
Now stick them together and barbeque them on a broom stick :
Note if you want to keep a non-rectangular wing configuration you do need to make those changes here (I tried a dihedral one but it didn’t quite work out):
Though this must have been done in the aforementioned sessions but still to clear any confusions:-
So now we proceed to make the skin
Now this involves making a rectangular cardboard cut and folding it over the ribs and cutting out the extra part.
First, cut out a cardboard rectangular sheet equal in length to the one calculated and maybe slightly bigger than twice the width.
(I took 12.5*45)
Now fold it across the center line and take our ribs + spar setting and cut the extra part out of it (only from one side let the other side remain will come in handy during trimming)
Now try to fold the skin in such a way it covers the airfoils completely apply adhesive generously in this step and do tape the edges for a perfect stick.
Note mine has a dihedral yours need-not have it (this is one of my earlier trials and the final ones didn’t have a dihedral )
Step 2:
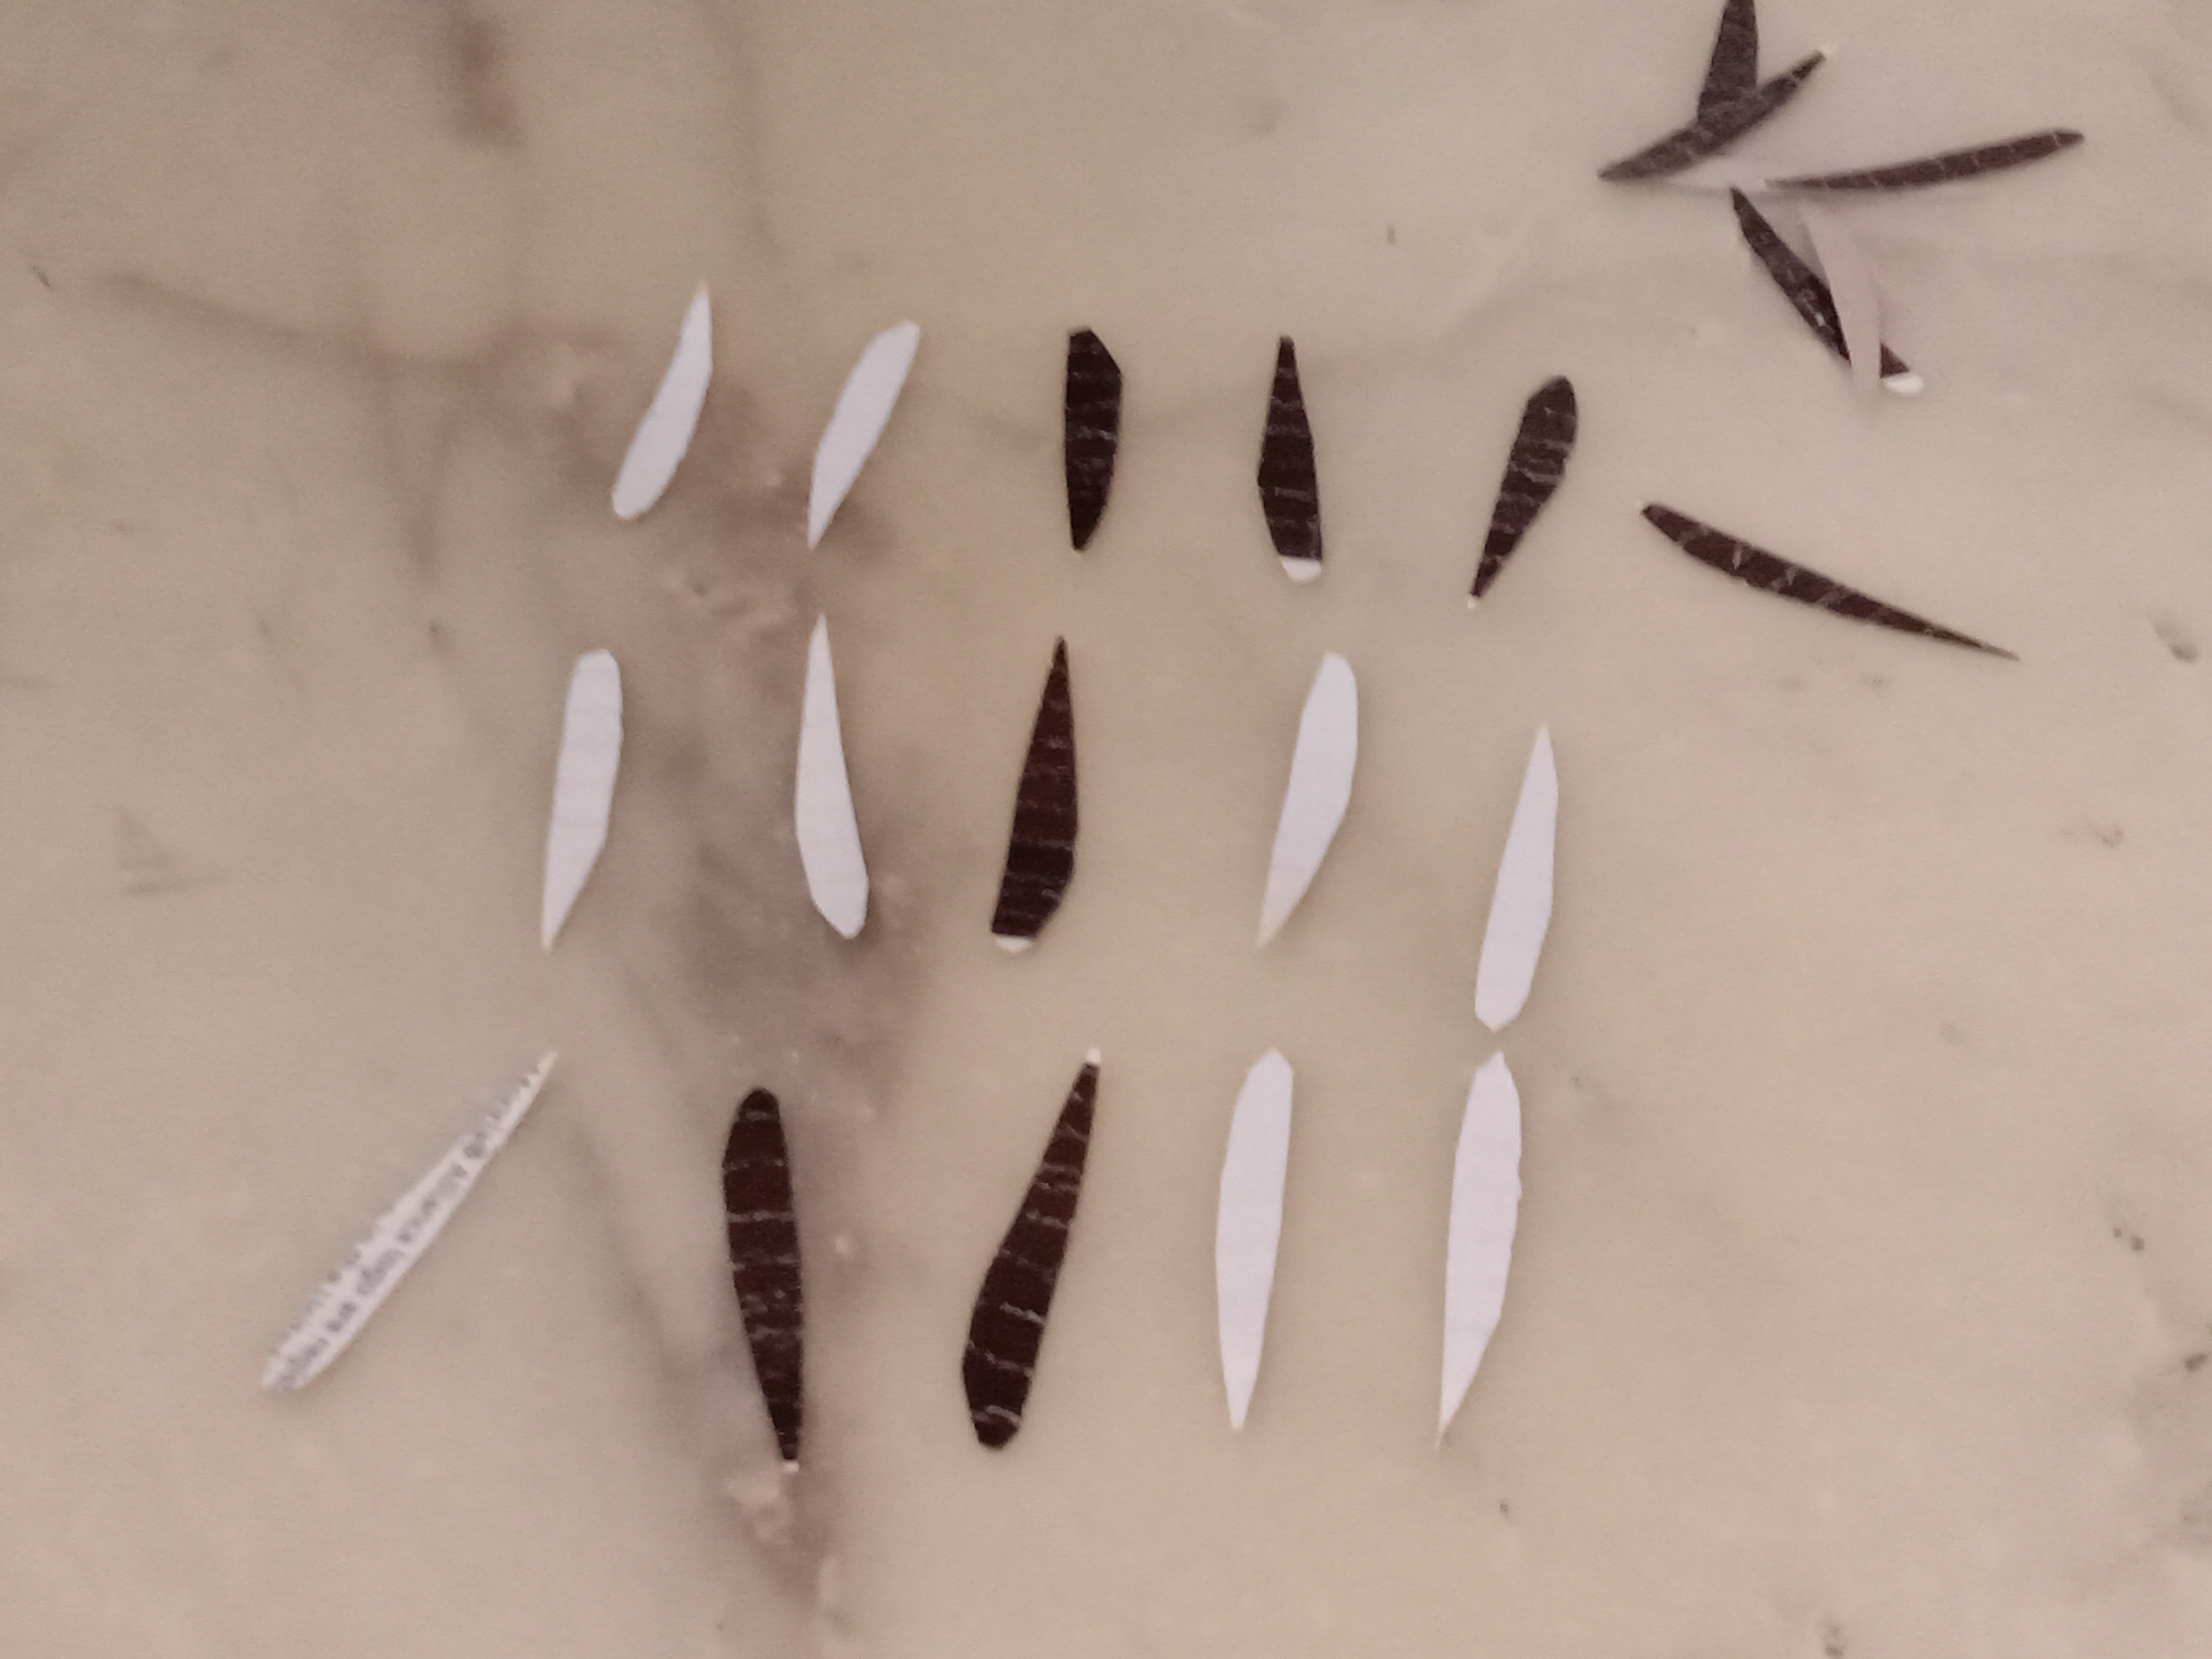
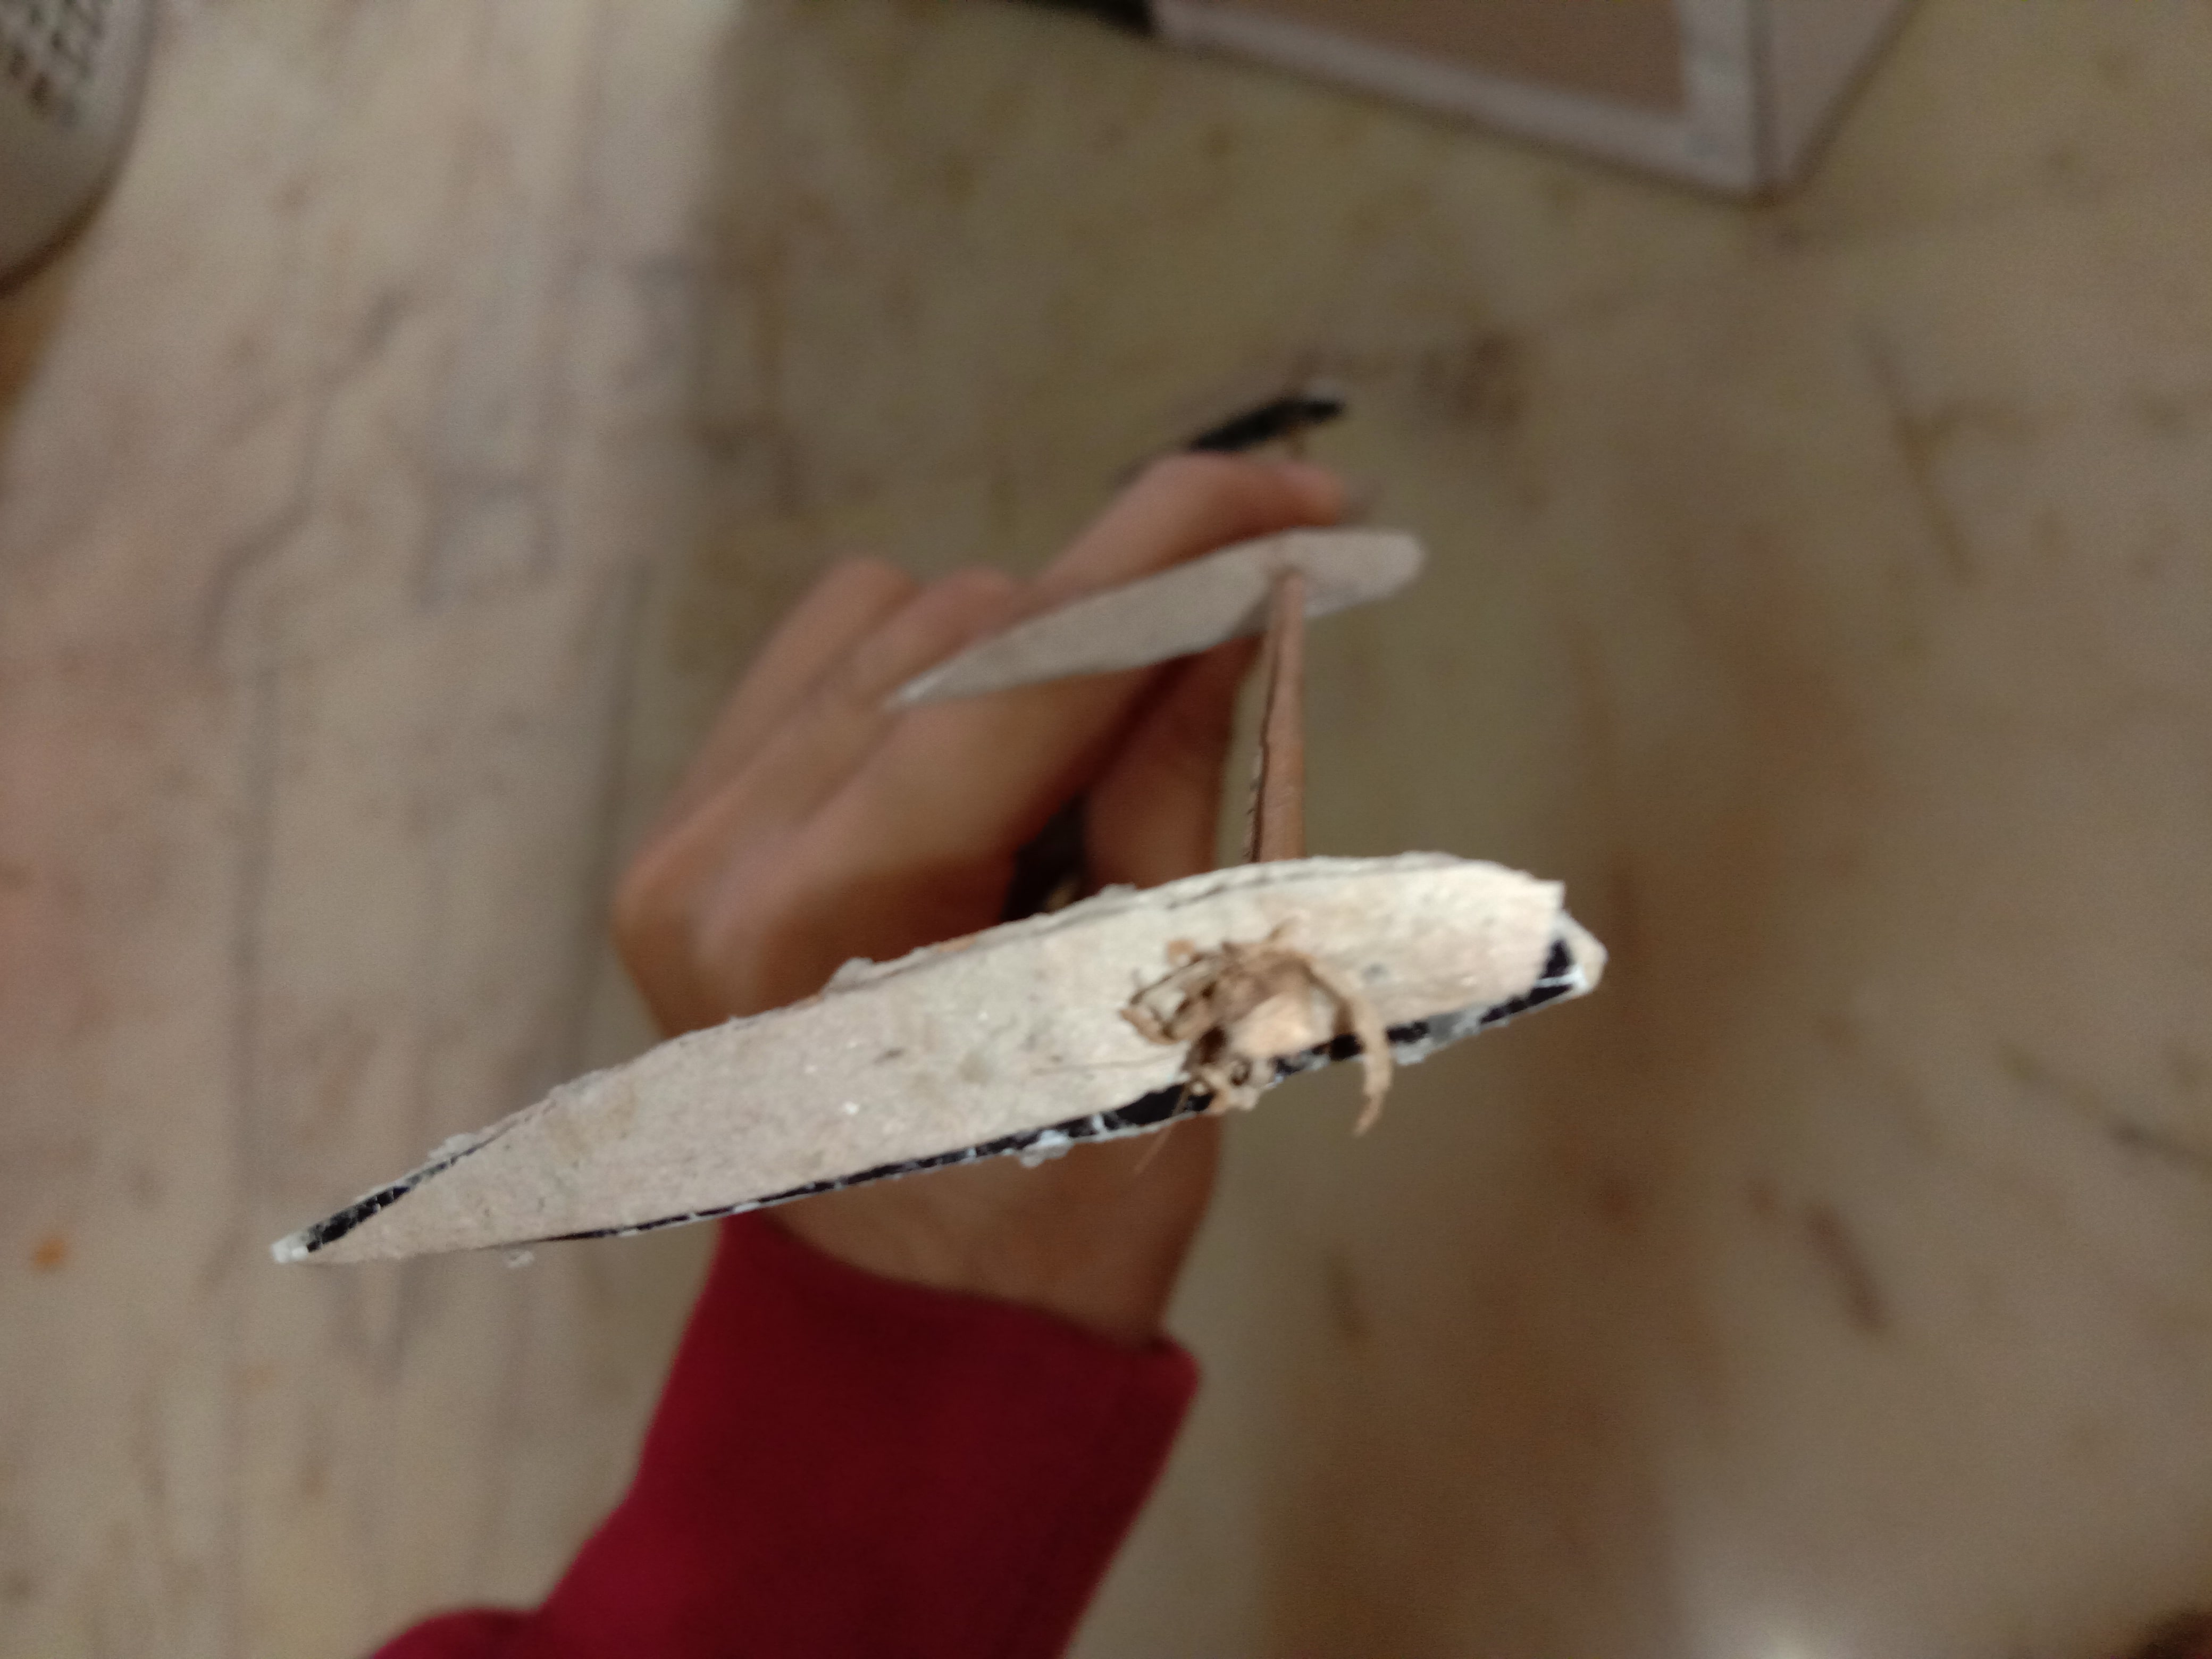
Before proceeding to the fuselage create the stabilizers first as they would help you in CG balance you may make them in any shape you want but try and stick to the area restrictions.
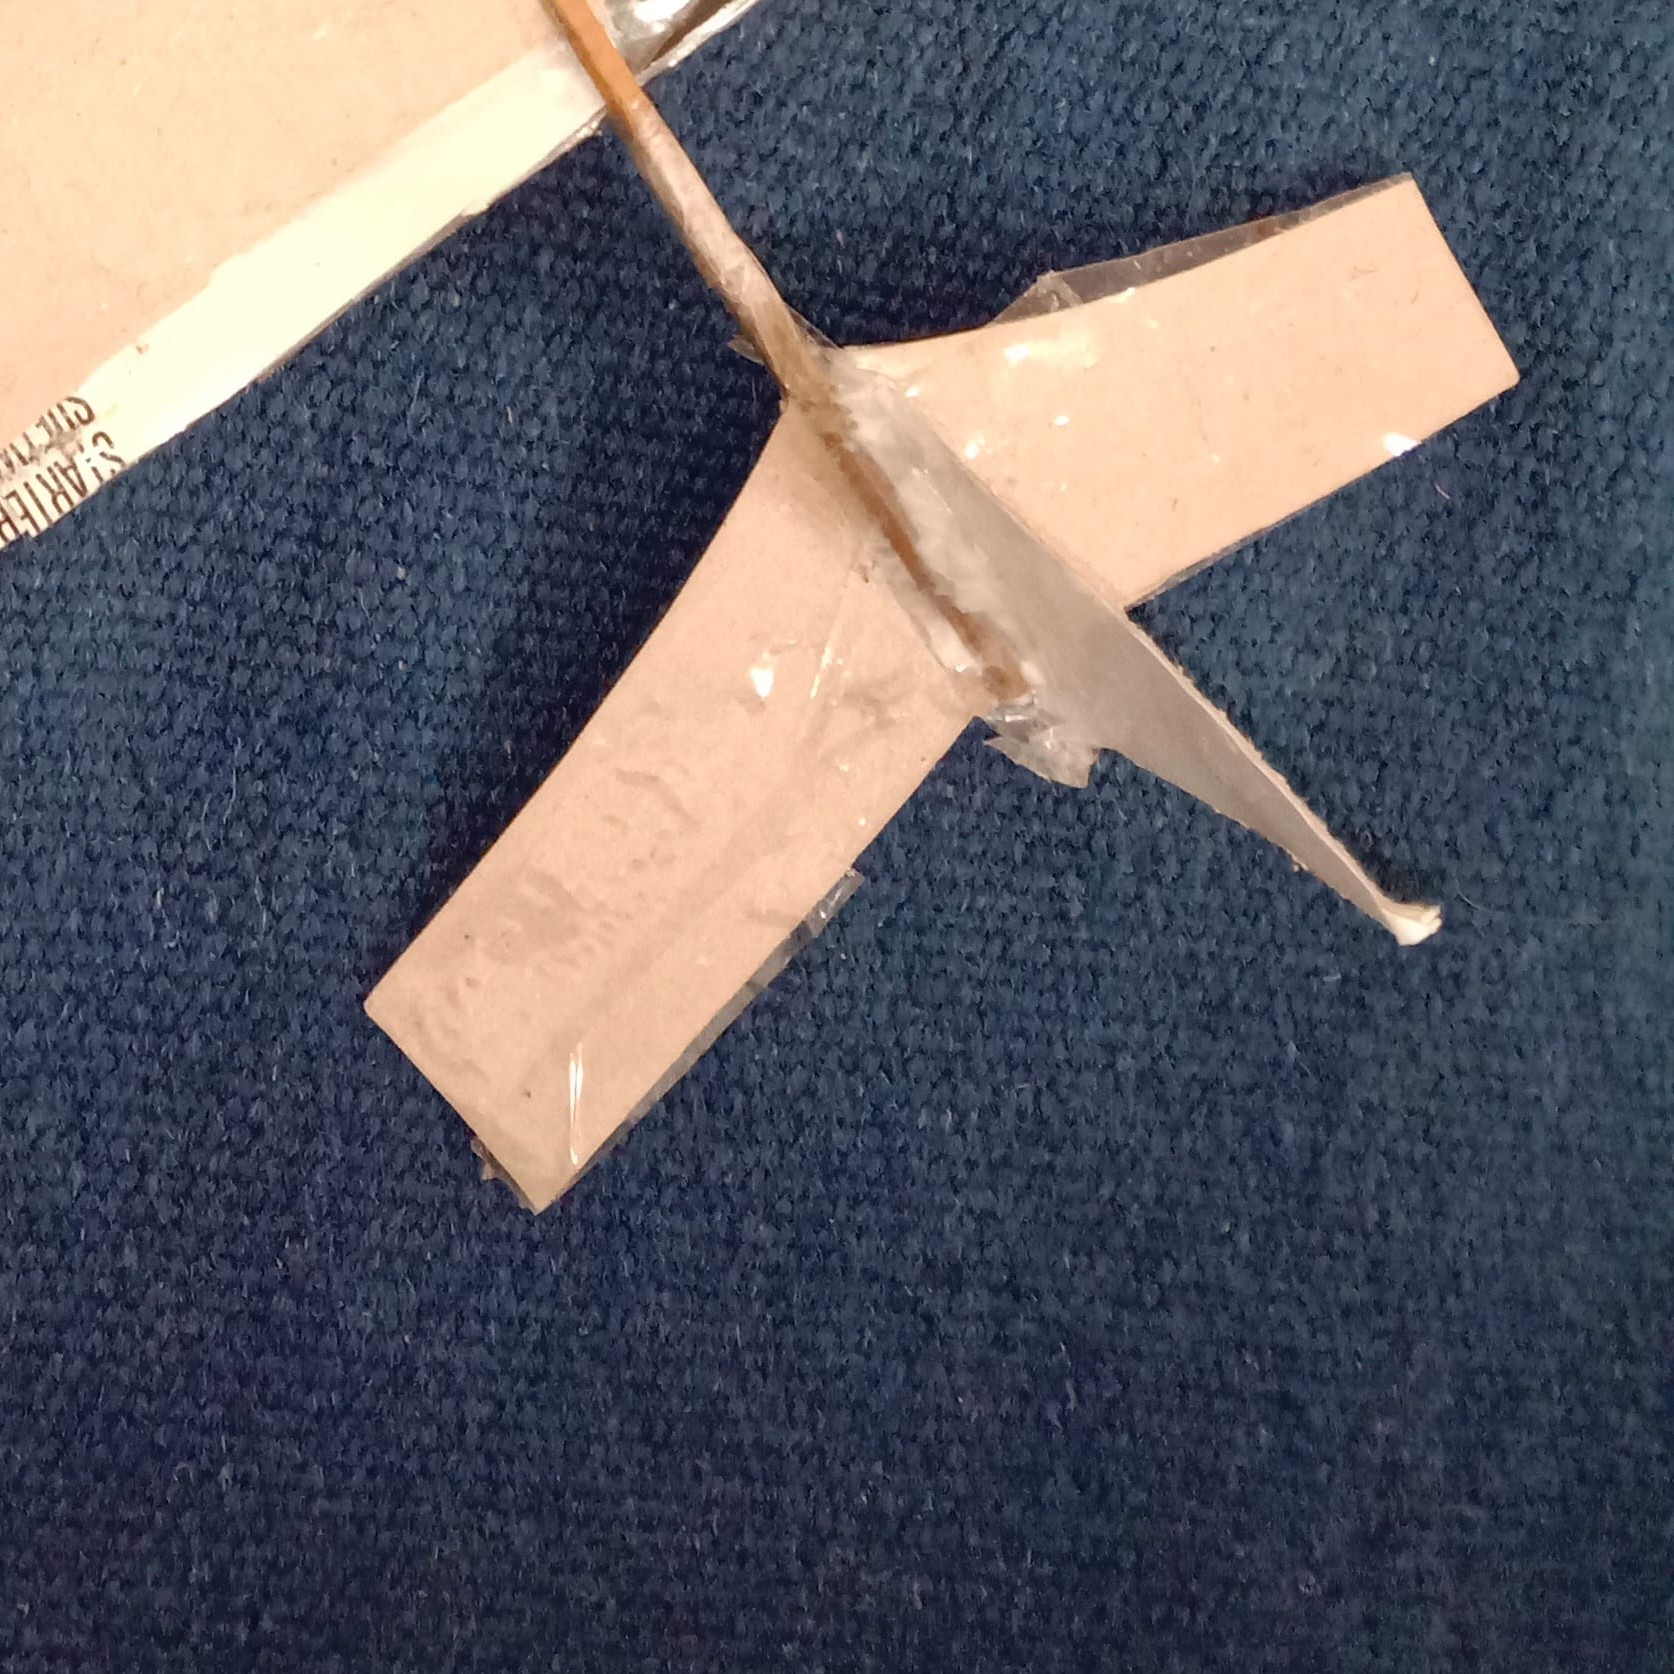
his image shows the stabilizers.
Step 3:
Now the final build step- the fuselage:
The fuselage as said earlier should be 80% of the span.
The first thing we need to do is the CG balance as we already are on the heavy side we can’t afford to increase more weight on trimming so CG balance is very important.
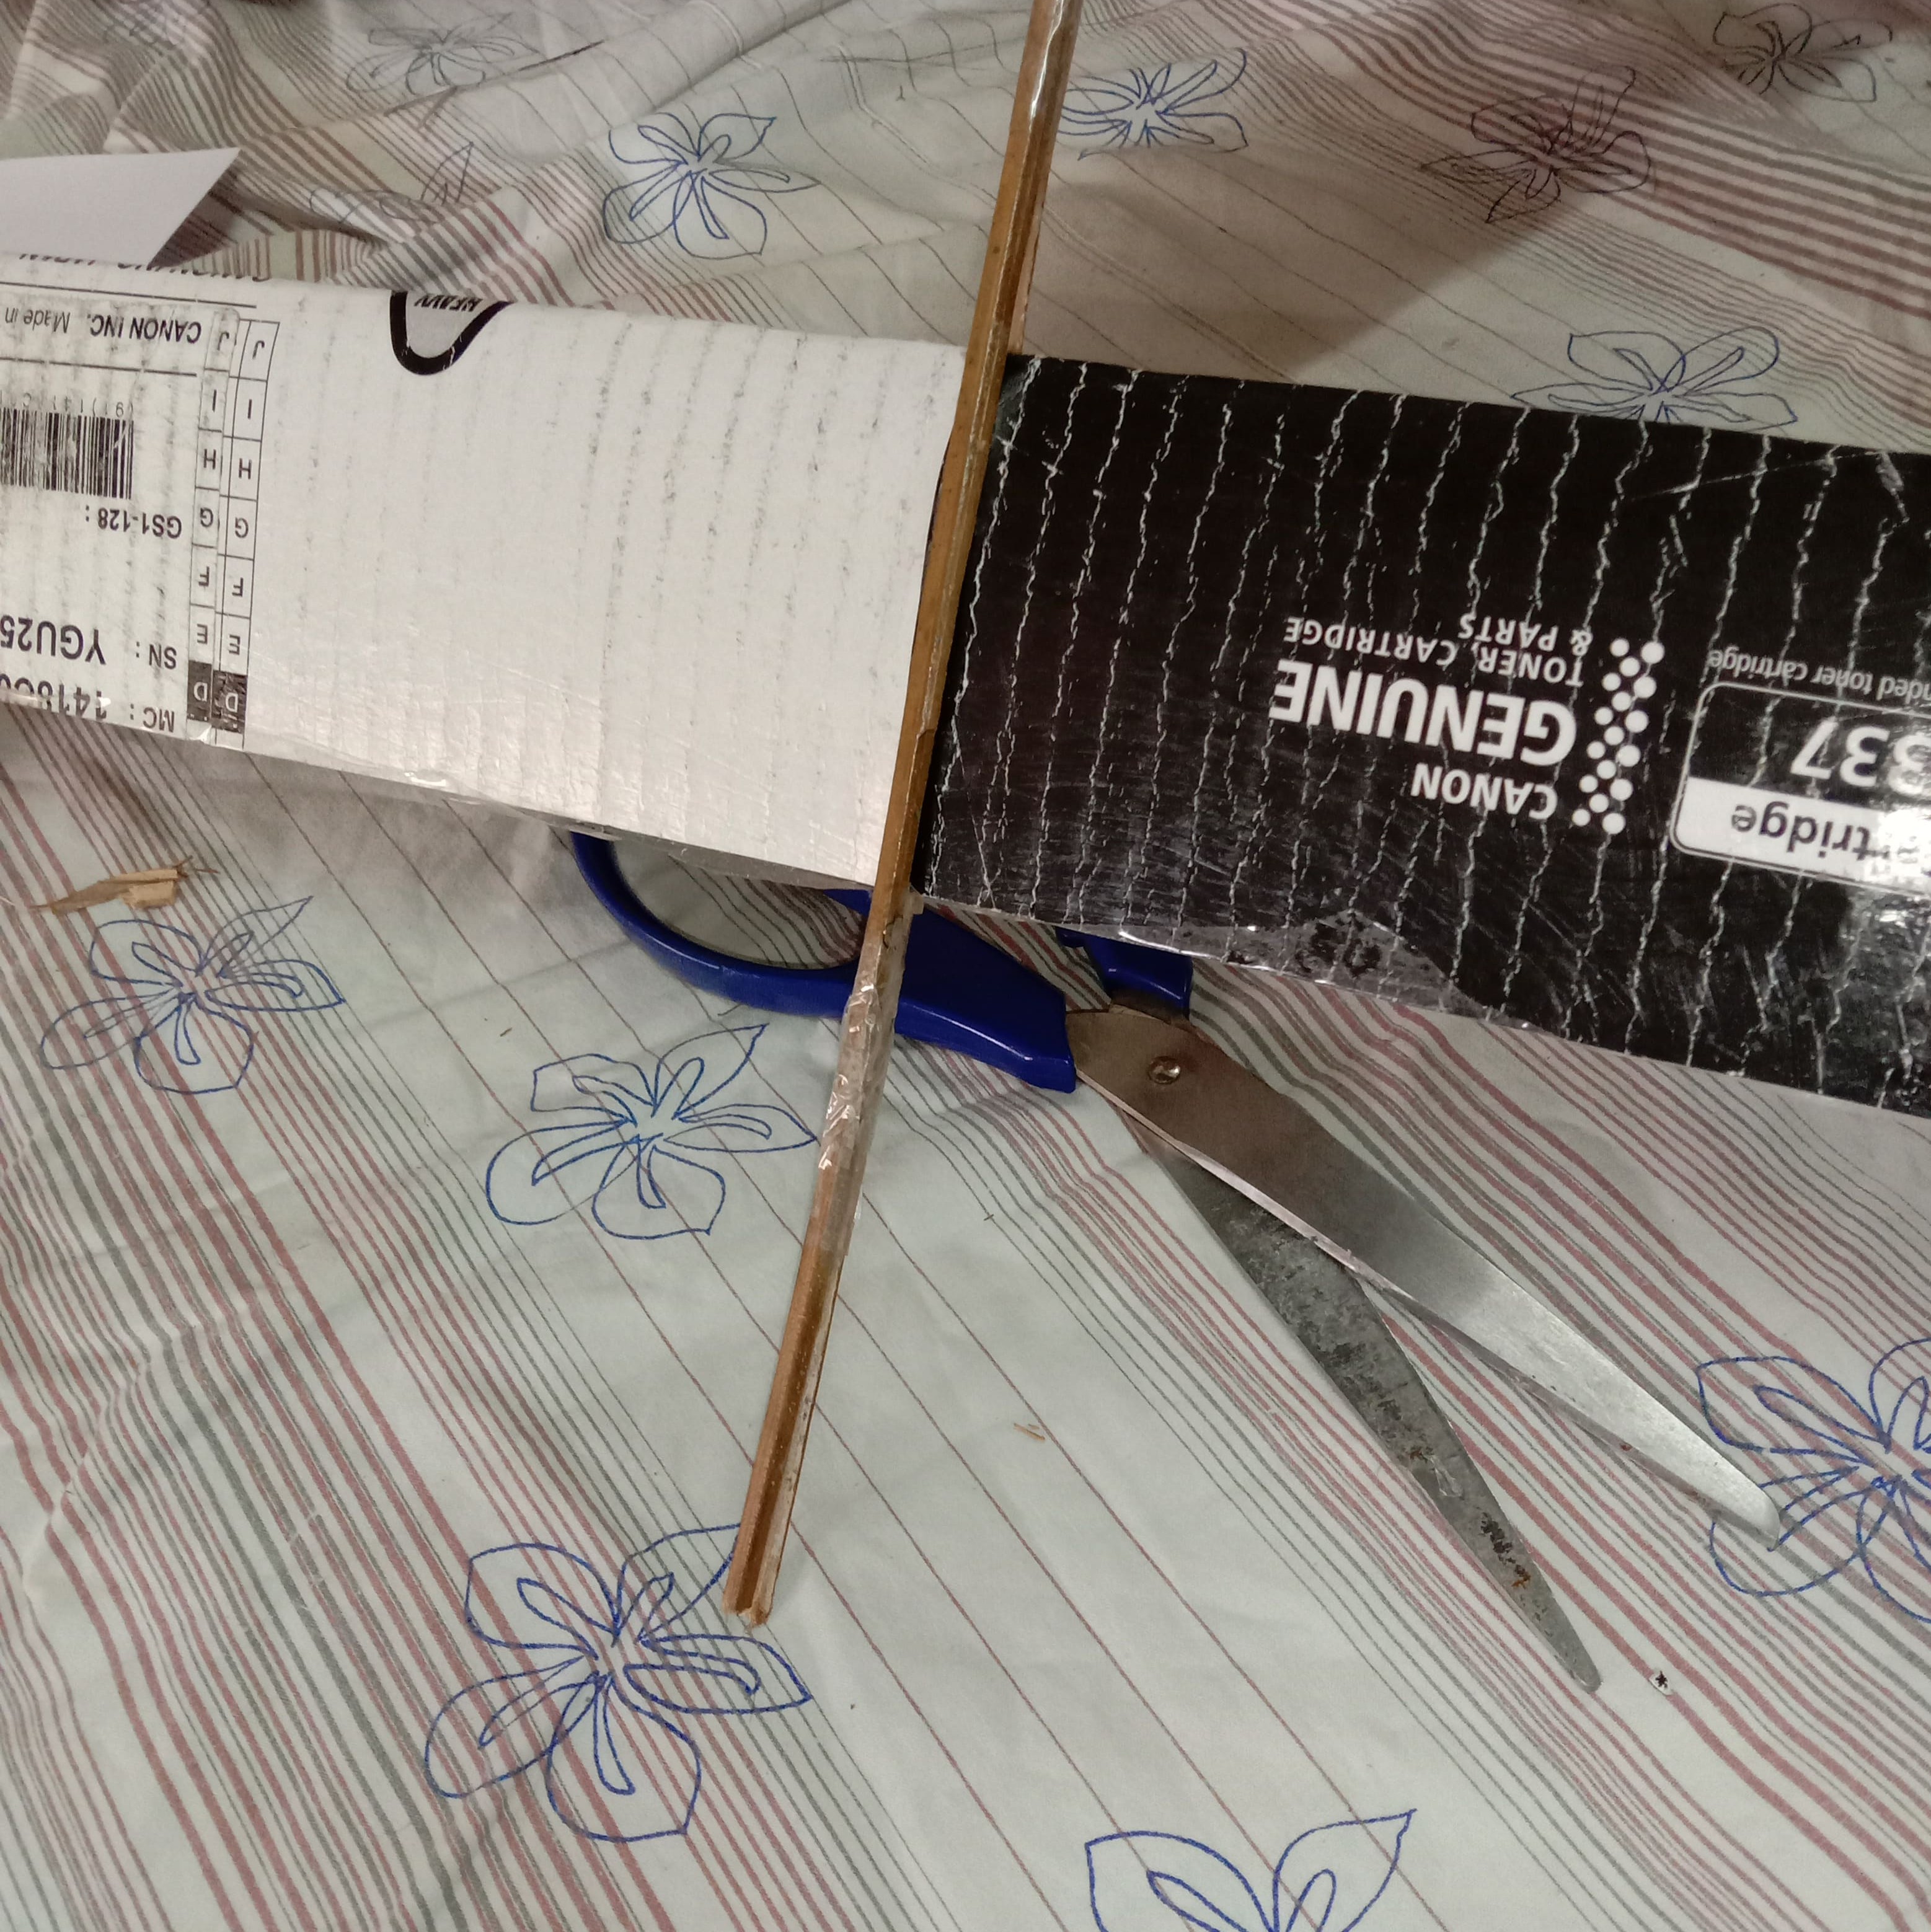
To make the fuselage we shall use two broom-bristles. Before proceeding choose an edge and stick both the bristles in a way they get a lot of traction(not entirely just at a vortex), then perform all the steps on the opposite end.
You may do it with the millions of equations on neutral point and all but doing it manually works just as well, take both the stabilizers, stick them loosely on one edge of the sticks, find the CG using the method of balancing it on your fingers and mark it.
With this done remove the stabilizers, as before that we need to add the wing. Try to keep the c/4 of the wing (¼ of the chord) aligned with the CG. Now we need to insert the wing in such a way so that it doesn’t vibrate while in the air.
To do so insert the wing in between the broom-bristles and press both the bristles against the central rib, and tape the bristles together in regions as close to the wing as possible.
Before starting this do remember to keep space for the stabilizers as I forgot the same in these images and had to repeat the process.
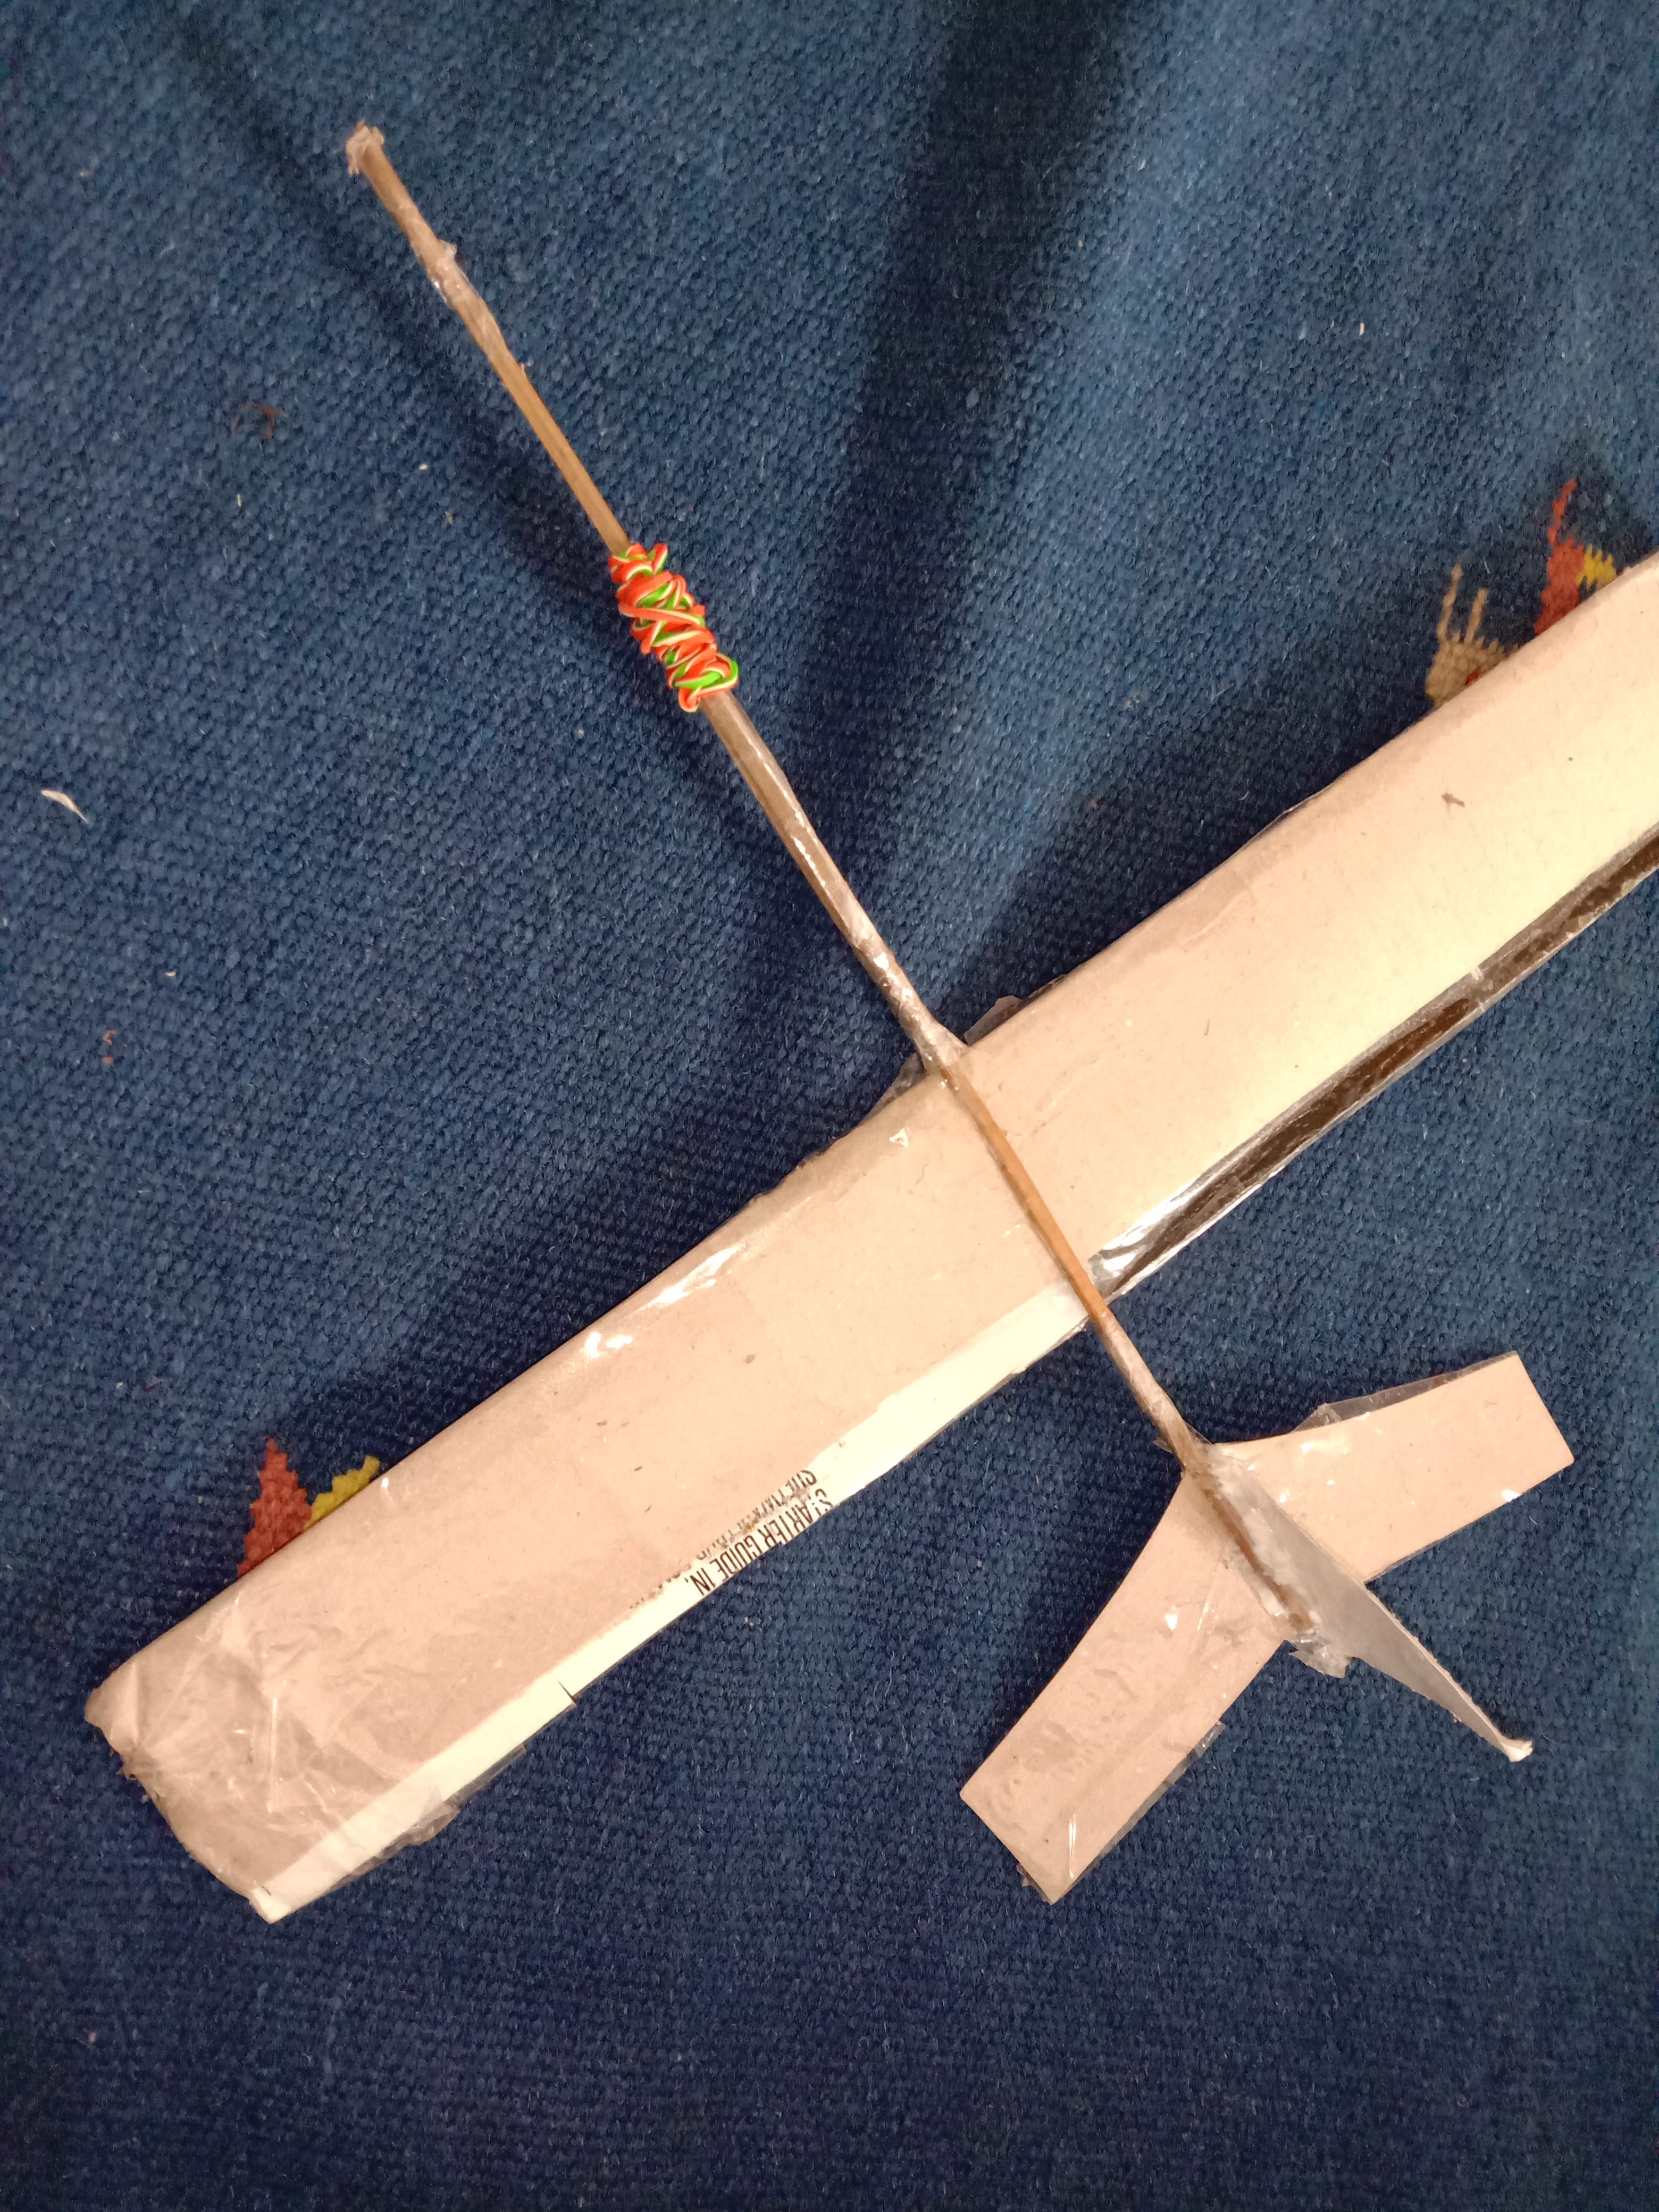
With this done fix the bristles on top and bottom of the wing with tape.
With this done use the same process for the horizontal stabilizer and stick the vertical stabilizer on top of it as straight as possible.
Our plane’s ready
(I’ll explain about the rubber bands later.) So 50% job done if it flies for you now then... well I don’t believe you. Step 4 and the final step: Trimming!!!!!! This is the most painful step and will take most of the time, in this, we ensure that there are no rogue moments on the plane and it flies straight and far. There are no predefined steps but you do need to keep this in mind:
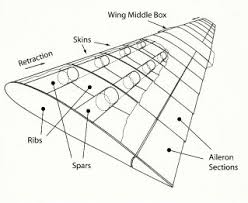
- Roll stability: though won’t really matter much but do try and correct the roll instability due to weight by adding weight at the right areas. The real problem would be when it rolls on its own due to (mostly) misalignment of wing and tail. If it corrects automatically(using aligning the wing and tail) then no issues or else you need to make a dummy aileron. (Image below):
- Yaw stability: The vertical stabilizer should be enough for this but if not try changing its position.
- Pitch stability: unlike the rest, this will be a continuous process, so to make it go straight (sort of) you need to make sure that CG remains at c/4 and for that, we will use our most important tool, rubberbands!!. Just this won’t be enough while the flights of the glider you will notice that if the glider tilts slightly up then its called “tail heavy” if this is the case then add some weight to the nose to increase the moment in that direction, vice versa if the nose dips its nose-heavy and consequently remove some weight added on the nose, do this till you are satisfied enough with the results.
A few tips while trimming, don’t throw too hard at first let it glide so that you can see the problems easily and correct them. Have some patience, it’s a long process but would be rewarding.
Best Of Luck!!!